Clematis can be grown by numerous propagation methods. Internodal cuttings and stem layering will ensure that exact clones of the parent plant are produced. Growing Clematis from seed may result in variations due to genetic crossing if you grow more than one Clematis in your garden. While this could be an interesting experiment for an adventurous gardener, plants grown from seed can take years to flower and may possibly be a disappointment in the end.
The popularity of Clematis has resulted in many trademarked names and patented cultivars from modern breeders. Keep in mind that any plant labeled as patented is also protected from propagation without proper authorization, even in the home garden.

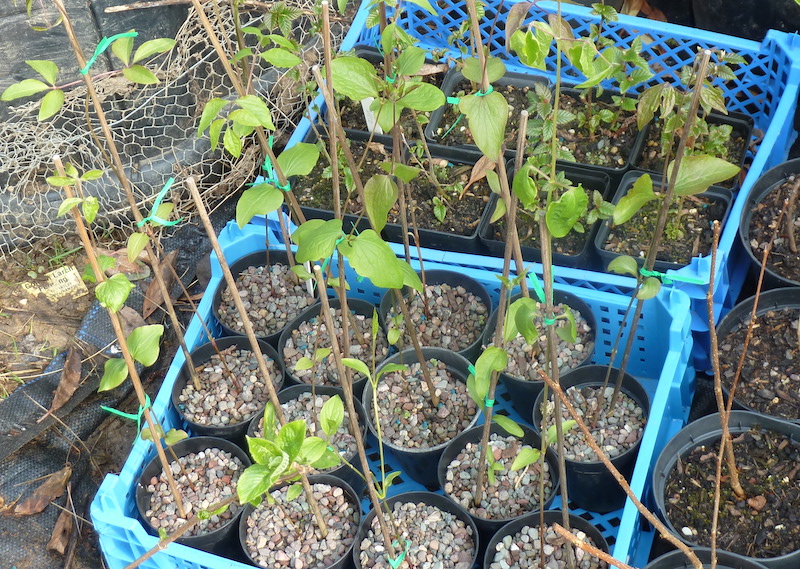
Photo by Peganum, cropped, Flickr, Copyright CC BY-SA 2.0
Methods To Propagate Clematis
Cuttings and layering of Clematis stems are the quickest and easiest methods of propagation. These two methods will result in plants identical to the parent plant, no matter if it is a hybrid or not. Both methods require some time to grow the new plants into a usable size before planting them in the garden. Clematis grown from cuttings is often ready to plant in the garden by the following growing season, while layered plantlets will need one to two years of growing attached to the parent plant before they can survive successfully on their own.
Saving seeds from your Clematis can be a fun way to experiment with breeding on a small scale. The seed is best planted fresh off the current year’s flowers and will need a period of cold stratification to germinate. Flowers may take anywhere from 3-5 years to bloom.
What You Need To Propagate Clematis
We will focus on describing layering and cuttings, which provide the fastest and most reliable results. Layering stems is the most rudimentary method of propagating and requires only a sharp knife for making a cut in a stem and a means of holding that stem so it has full contact with the soil. Clematis stems root readily upon soil contact, even without a nick or wound. Use sod pins or a heavyish, flat rock to hold the stem down.
Cuttings require a sharp set of pruners or a utility knife for cutting the semi-woody stems. Use small 4-6-inch diameter pots filled with sterilized potting mix or 100% perlite, and locate a bright but not too hot location for the pots to grow. Rooting hormone is optional, but can help the cutting grow roots a bit faster.
Best Time To Propagate Clematis
Layering Clematis stems in the spring as new growth emerges will give the new plants a full season to root and grow before the winter months. Take cuttings around August, in the late summer. The plant will be producing semi-woody stems then, which are perfect for inter-nodal cuttings.
Steps To Propagate Clematis
Layering stems in the garden:
Step 1 - Choose a long and bendable stem that will easily touch the ground.
Step 2 - Bend the stem to the ground or into a pot of soil so that a set of leaves and the leaf buds touch the soil. Partially bury the stem.
Step 3 - Hold the stem down so it has firm contact with the soil and secure it with heavy-duty sod pins or a rock.
Step 4 - Continue to serpentine the stem in and out of the soil so that the bud nodes make contact with the soil.
Step 5 - Keep the area well watered during the growing season.
Step 6 - Keep the stem attached to the parent plant until the plantlets are ready to grow on their own. This could take 1-3 years.

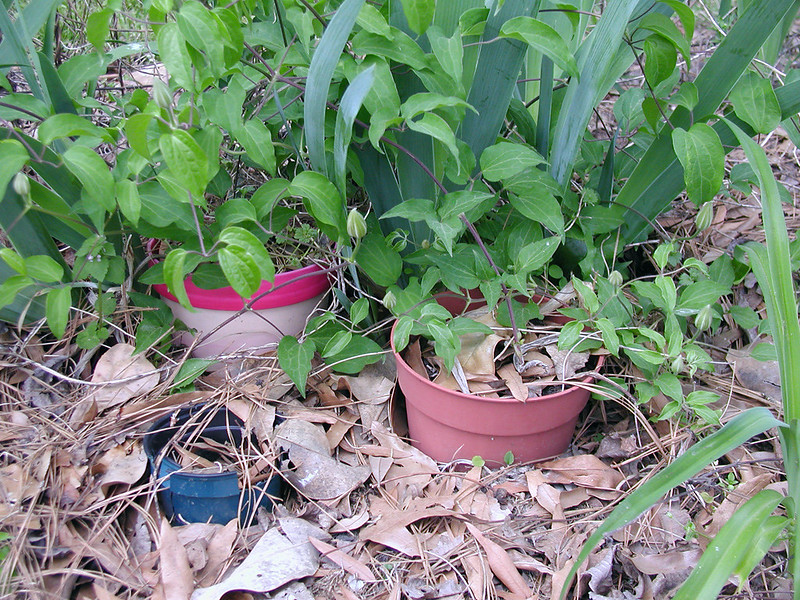
Photo by Bill Murray, unmodified, Flickr, Copyright CC BY 2.0
Internodal Cuttings:
Step 1 - Find a stem that has no flower bud or seedheads attached. Cut a stem piece that is 1-2 feet in length and includes many sets of leaves and buds.
Step 2 - Make cuts along the stem at either side of the leaf sets. This is an internodal cutting because the leaf nodes are in the middle of the stem cuts.
Step 3 - Remove all but one pair of leaves to force the stem to develop roots.
Step 4 - Slip the cutting into a prepared pot, placing the cutting close to the side of the pot. Repeat with any other cuttings, continuing around the pot. A 4-6 inch pot can accommodate 3-5 cuttings at one time.
Step 5 - Water the cuttings well and place them in a semi-shaded location where you can check on them regularly.
Caring For Young Clematis
Clematis propagated by layering will need to be checked regularly to ensure that the stem stays in contact with the soil. Once a good amount of roots have grown (generally 1-3 years), the plantlets can be cut away from the parent plant. Snip the stem on either side of the root mass, and pot the new plant in an appropriately sized pot or directly into the ground.
Clematis cuttings should be left to grow over the winter in a sheltered location that still receives precipitation. This helps the cuttings to acclimate to outdoor conditions. The following spring is a good time to separate the cuttings and transplant them into their own containers. Cuttings that have developed larger root systems can be planted out in the garden directly.
 |
Author Robbin Small - Published 8-13-2023 |


