There are several methods to dry hydrangeas. The easiest way is air-drying (drying them naturally), while the blooms are on the shrub or after they are picked. There are several other methods to dry hydrangeas that can lead to brighter colors of the dried blooms:
- Drying Hydrangeas Naturally
- Drying Hydrangeas With Silica Gel
- Drying Hydrangeas With Cornmeal and Borax
When to Cut Hydrangeas for Drying
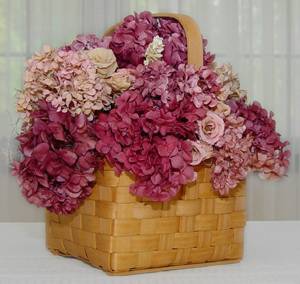 First, when should you cut hydrangeas to dry them? Hydrangeas do best when allowed to dry on the plant before picking them. Experiment with harvesting from August through October. That is the best time of the year to cut hydrangeas to dry and preserve them.
You can have beautifully dried hydrangeas that are as lovely as any you can purchase. When first starting to dry hydrangeas, I tried all the tricks I'd heard. I slammed them into a hot car trunk, hung them upside down in a dry attic, and placed them in water that gradually evaporated. In every case, I ended up with wilted hydrangea blooms.
The secret to perfectly dried hydrangeas is simple: wait until they are ready before picking them. The timing is much more important than the method used to dry them.
While it is tempting to cut the hydrangea blossoms for drying at the height of their color, this doesn't work. Fresh, recently opened blooms, rarely dry well in the open air. Hydrangeas do best when allowed to dry on the plant before picking them. Experiment with harvesting from August through October.
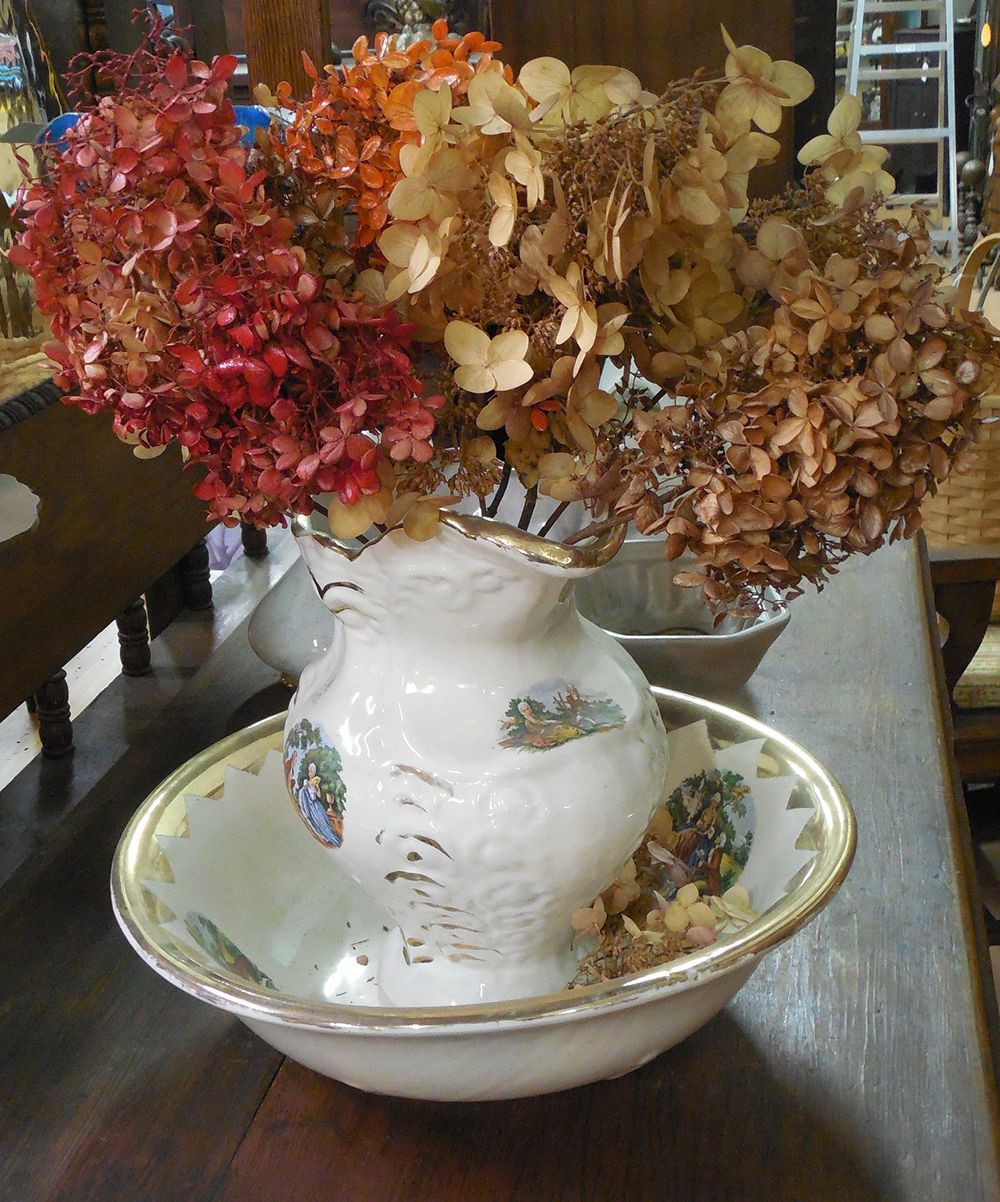
In the South, hydrangeas usually age to a blushing-green color and then pick up shades of pink and burgundy as fall approaches. In the cooler areas of the world, they seem to age to shades of blue and purple. The colors are both equally beautiful to me, but very different. Occasionally, I like to purchase a few bunches on Ebay from gardeners who grow hydrangeas in cooler climates, just to enjoy the variety of colors.
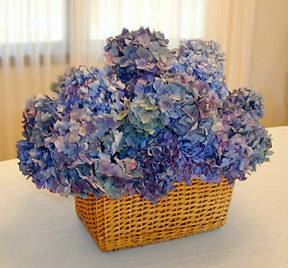 Drying Hydrangeas Naturally
* Leave blooms on the shrub until late summer. Toward the end of the summer, the petals will begin to age and take on a vintage look. If left on the shrub a while longer, many blooms will pick up interesting shades of burgundy and pink. The timing for cooler areas may be much different from this. We would love to hear feedback from those whose drying experience is different.
* For drying naturally, cut the blooms, strip off the leaves, arrange them in a vase, with or without water, and leave them to dry. It is not necessary to hang hydrangeas up-side-down to dry unless the stems are very thin and weak.
* To retain extremely natural hydrangea color, use Silica Gel to dry fresh blooms.
Drying Hydrangeas With Silica Gel
Drying hydrangeas with silica gel is a process that results in breathtaking colors and blooms that look so natural you will have the urge to water them.
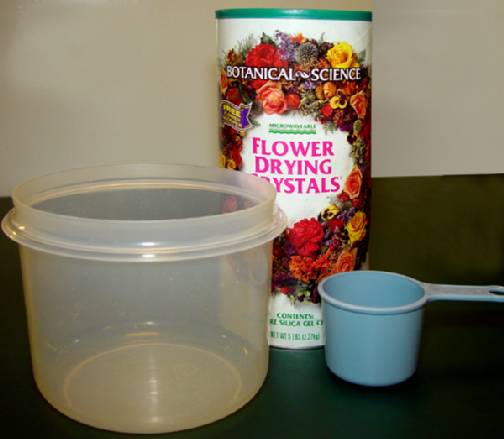
Silica gel is not a gel at all. It looks like white sand with blue crystals. One can purchase canisters of Silica Gel Flower Drying Crystals easily online.
The method of drying with silica is rather expensive, time consuming and absolutely gorgeous. (See method below for a less expensive alternative.)
If you need enough dried hydrangeas for an arrangement or a wreath, dry about twice as many as you think you will need. I say this not because some of the blooms will dry poorly, but because one can never believe how many it will take to make a nice, full arrangement. Also, to fill out the design, consider including small, naturally dried hydrangeas in with the silica dried hydrangeas.
Steps For Drying Hydrangeas With Silica Gel
The process is relatively simple except for one thing: the flower head must be "suspended" in the silica. This means that it cannot touch the sides or bottom of the container. If it does, the bloom will have an unnatural shape.
This is why it is important to hold the (up-side-down) flower away from the bottom of the container until you have sifted enough silica over the flower to hold it in place before continuing to cover the flowerhead (see illustration 4a-4c on next page). As you sift the silica OVER the flower, the silica will fall to the bottom and secure the head, keeping it from touching the bottom of the container.
The method of drying hydrangeas with silica gel will result in vivid colors and an amazingly natural appearance. While this process is very simple, it must be pursued over a number of weeks to obtain enough dried flower heads to make an arrangement.
1. Use plastic Tupperware-type containers that are large enough to hold the flowers without crushing them and a cup for sifting the silica over the bloom.
2. Cut fresh, recently opened hydrangeas from the shrub on the morning of the day they are to be put into the silica. Petals should be dry.
3. Cut stems very short so they will fit in containers. A few leaves may be left on or all can be removed.
4. Place the hydrangea bloom in the container, up-side-down, on a thin layer of silica gel (stem facing up). Hold the flower above the layer of silica (4a) and gradually sift silica around the head (picture shows hand holding flower too far above layer of silica) (4b). When about an inch of silica is holding the flower in place, you can release the bloom (4c).
4A)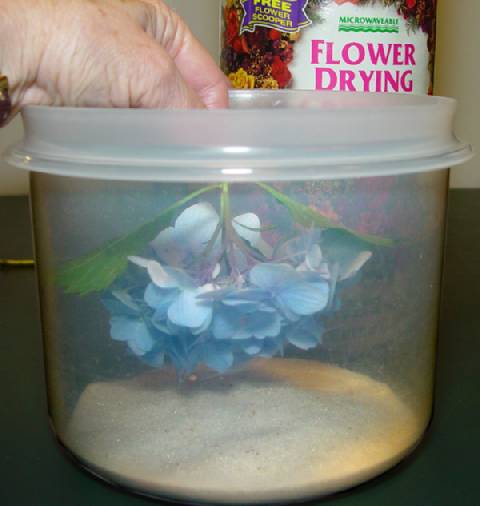
4B)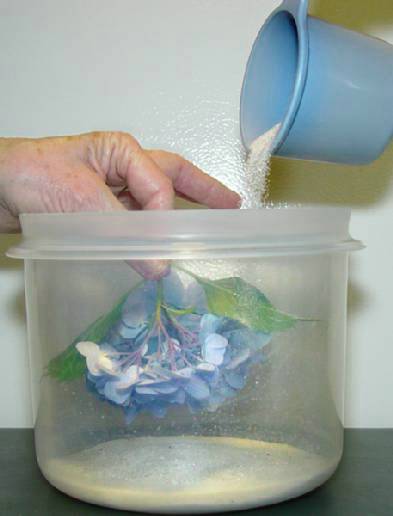
4C)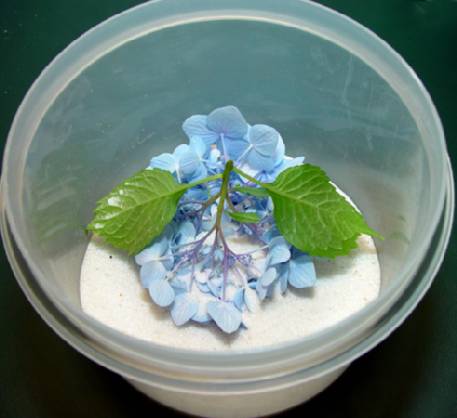
5. Work the silica into the center of the bloom and under all petals. When the first bloom is covered (including the stem), if there is more room in the container, continue to layer whole or parts of flower heads with silica gel to within a half inch from the top of the stem. Do not force them to fit in the container, or they will be unnaturally shaped.
TIP: While sifting silica over the bloom, pay special attention to filling the edges of the container so that the silica will sift under the petals. Also, when the bloom is about half covered, gently knock the container to settle the silica around the petals.
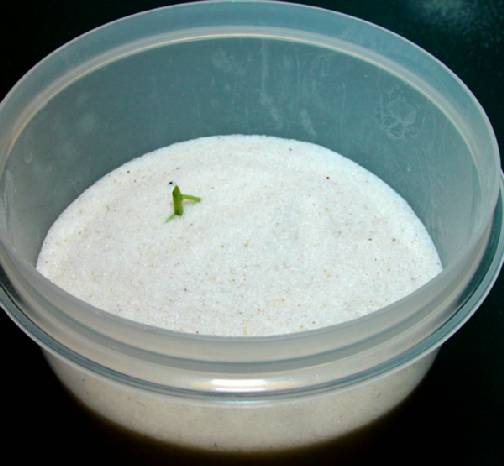
6. Secure a lid on the container and label it with the date.
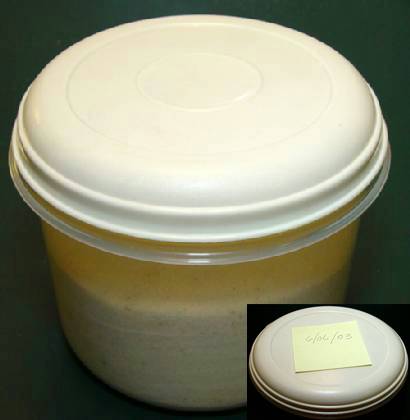
7. Four days later, pour the contents very slowly onto a newspaper and pluck out the dry hydrangeas.
8. Gently tap them clean and place the heads loosely in plastic bags for storage until ready for use, or lengthen the stems and place in a vase (Standing in a vase keeps dried blooms from getting smashed in a plastic bag).
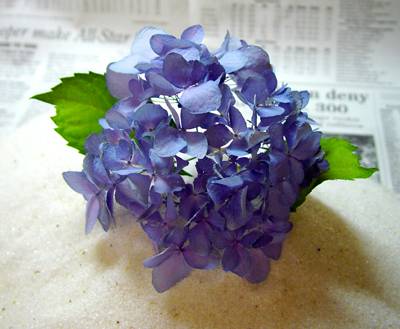
9. Do not leave hydrangeas in silica for more than four days, or they will be too brittle (unless silica is more than 2-3 years old).
10. To lengthen stems that have been cut short, tape a long dry stem (that may have been cut from a dead branch) to the hydrangea's stems with florist tape.
11. I find that spraying anything on the blooms after they are dry diminishes their natural beauty. I haven't had luck using hair spray or clear spray paint to "preserve" them. After all the work of drying them, be sure to test any spray you may be tempted to use on a small bloom.
Drying Hydrangeas With Cornmeal and Borax
A less expensive method of drying hydrangeas is to dry them with borax. This method was sent to us by Liz Schenk. See the description of this method below and the result some have had. The drying is done with a mixture of cornmeal and borax.
(CAUTION: I have only tried this method once, therefore, I am not an expert on it. My results turned out OK but the flowers didn't look as bright or as natural as they did with the silica. Before trying this technique, please read the notes below)
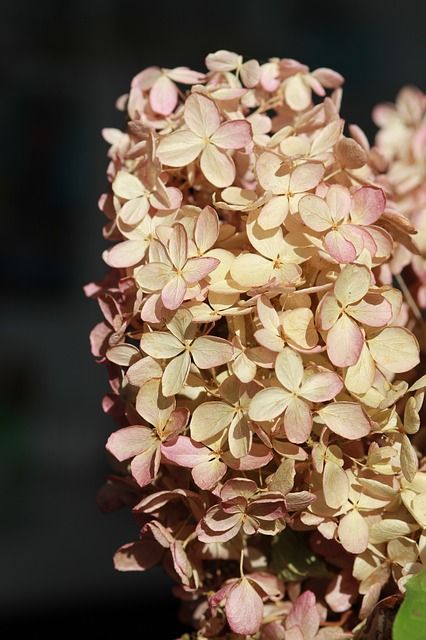 I received an email from Liz Schenk, who had been reading about drying hydrangeas with silica gel on this site. She wrote that the method she used was far less expensive than using the silica gel. Here is what her email said:
"Thanks for the helpful information on your website.
I have moved into an old house which has one shaded west wall that is completely planted with deep fuschia, almost red, hydrangeas. I want to dry as many as possible. I will leave many to mature until August, but I want to quickly dry many of them for their more vivid colors.
Silica gel is way too expensive, as you mentioned. Have you ever used the cornmeal/borax method? It takes a bit longer for the drying, maybe two weeks, but the colors are just as natural as an end result. The solution tends to stick to the blossoms a bit, so I always have to gently brush them with a makeup brush or some other soft brush after I've given them a gentle shaking.
The main advantage to this method is that it's dirt cheap. I can make a really large container, for instance, a dutch oven, a plastic garbage can or a big box, full, and use it over and over, drying seven or eight flower heads at a time. The ratio is, if my memory serves me, 60% cornmeal, 40% borax. If it isn't exact, it always seems to work anyway. Happy drying.
Liz Schenk"
Another Reader, Nancy in Connecticut gives a more detailed description of this technique. She says:
"I did mix the Borax (40%) and white cornmeal (60%) in a plastic 1 gallon pitcher. Once I added the ingredients, I shook the pitcher a few times to mix it up. I first spread a small layer of the mixture on the bottom of a large plastic storage bin. The bottom layer was about 1/2". Then I selected my first flower and held it about 1" from the bottom of the bin, with the flower head pointing downwards.
The next part is easier with two people but can be done alone. I poured the mixture from the pitcher into a handheld strainer and began to shake it onto the flower. I placed the flower on top of the bottom layer and continued sifting until the flowerhead was completely covered. Then I repeated the process until all the flowers were done. I was able to do six large flower heads in the container I selected.
I placed the lid on the container and draped black garbage bags over it to block out light. Although I was supposed to wait 2 weeks before removing them, I couldn't resist (LOL) and removed them after 10 days. I suggest waiting the full 2 weeks; I was foolish to take the risk.
When removing the flowers, the mixture is slightly heavy, so lift them out gently. Then gently shake to remove the excess powder. The article suggested using a small brush to lift off any remaining particles, but I didn't need to.
I forgot to mention that after you select your first flower, you need to remove the leaves (I left them on but they didn't do too well), and cut the stem of the flower the length that will allow you to put the cover on. The remaining half of the stem I placed around the edges of the container and covered them with the mixture. After I removed them, I simply reattached the stems to the existing half with green florist tape. I have to tell you I was so excited to see that they preserved so well. They make such a beautiful accent to our living room. Thanks again for your tips.
Sincerely,
Nancy"
Notes: the following are two experiences reported by others who have tried this method - one bad, one successful.
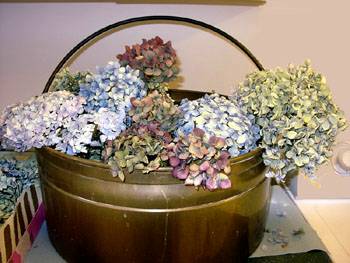
(1) I have received word from one person who read the instructions above, tried the Borax technique herself, and had disastrous results. She says "The hydrangeas turned brown and looked horrible."
(2) Later, I heard from Karen, who said, "I had to write and give you another outcome of using the cornmeal and borax method of drying hydrangeas. Mine turned out lovely! They look like they are suspended in life. I used white cornmeal with the borax (versus yellow cornmeal), and I have the big dish-sized, blue flowers. I also tried this method on my neighbor's smaller, red flowers, and hers turned out beautiful, too. We live in Seattle, and we harvested in October. Thanks for the tips!"
(The picture on the right is of the hydrangeas Karen dried in Borax and cornmeal—all except the one in the bucket on the far right, which was air dried).
I wish I could explain these differences. It could be that the borax mixture easily absorbs moisture from the air. Be sure to use products that are fresh and have recently been opened.
This method seems to have great promise.
 |
Author Judith King - Published 10-17-2017 |


