It may seem a bit outrageous to some people that anyone would want to dye or spray a hydrangea with artificial color. But there can be a number of good reasons for investing ones time in this project.
First, hydrangeas are an effective, inexpensive method of decorating. If one has limited access to the blooms, it is reasonable to use this technique to make the flowers last a few years longer than would otherwise be possible.
Second, there is an occasional event or a decorating situation when a splash of color in a particular shade is called for. Dyed hydrangeas can fill-the-bill here quite nicely.
Steps to Dyeing Hydrangeas
1. Make sure that the blooms you are using have been off the shrub for two weeks or more and are completely dry before beginning (see Drying Hydrangeas Naturally.)
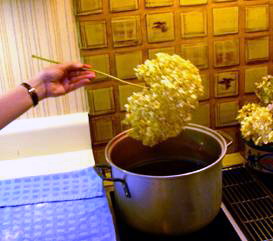
2. Dye the heads just like you would dye cloth - dip them in a boiling dye bath. See the warning below about covering surfaces.
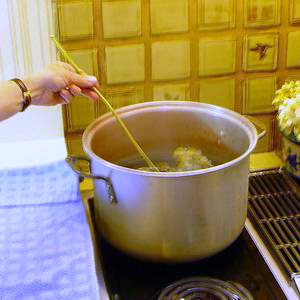
3. The deepest colors can be achieved by making sure the Ritz dye mixture is boiling before dipping the dry hydrangea heads into it. For lighter effects leave head in dye less time or dip when dye bath is slightly cooler than boiling. Over time, I have come to like the lighter, airier effect, but deep colors can be useful as an accent. It can also be effective to mix the different shades, as in the basket arrangement above.
4. Sometimes, when dyeing older blooms, they are not as pretty and light colored as one would like. Try spot-spraying the blooms with white spray-paint before dyeing (any spray-paint will do). Concentrate spray on the centers of each floret. Also, spray all darkened areas of the bloom with white. This method is especially helpful in prolonging the usefulness of blooms that are more than a year old.
5. Just as a reference, the dyed flowers in the basket above are three to four years old. They were dyed the year before this picture was taken. The dried roses in the arrangement were purchased. I did not dry or dye them.
Finished Close Up
Tips for a Dyeing Hydrangeas
Beware! Dye will drip on the floor and other surfaces. Be sure to cover all involved surfaces with newspaper. On the other hand, the dye doesn't appear to stain most surfaces that are not fabric or flowers.
While the pictures are probably self explanatory, here are the captions for them:
1. A dry, white bloom is held over a pot of boiling dye bath.
2. The bloom is lowered into the dye bath and held for a few seconds.
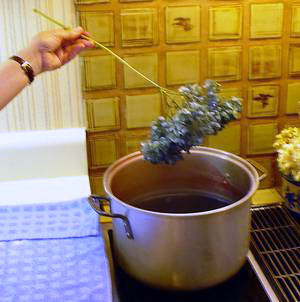
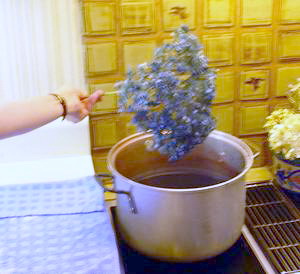
3. and 4. The same bloom as the white one pictured in Step 1, is being removed from the dye bath a few seconds later. At this point it looks like a totally ruined bloom. But do not fear, it fluffs back up to it's normal shape.
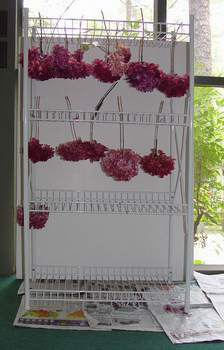
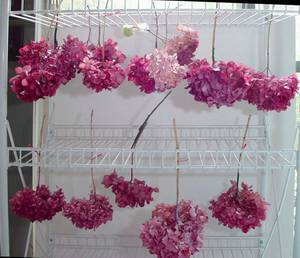
5. The blooms are hung to dry (obviously, these are not the same hydrangeas as those in Steps 1-4). I was fortunate to have this wire bookcase that I could use as a rack, but the blooms can be can hung from a line that is strung up in an out-of-the-way area. They dry fairly quickly.
 |
Author Judith King - Published 10-17-2017 |
