Forced Branches Flower Arrangement DIY

Today we are going to tackle a very basic, cut-branch centerpiece.  Early spring is the time of year to start thinking about forcing flowering trees into bloom to bring a little spring to your winter doldrums.  Forcing blooms is quite simple.  Cut the branches, place them in some room temperature water and wait.  You will be rewarded.  The hardest part of this little task is making sure you have the right tree or bush!  Anything that breaks into flower in early spring is worth the gamble.  Typical plants forced in late winter garden includes forsythia, star magnolia, redbuds, cherry and apple branches. The plant pictured below?  It is a special one...
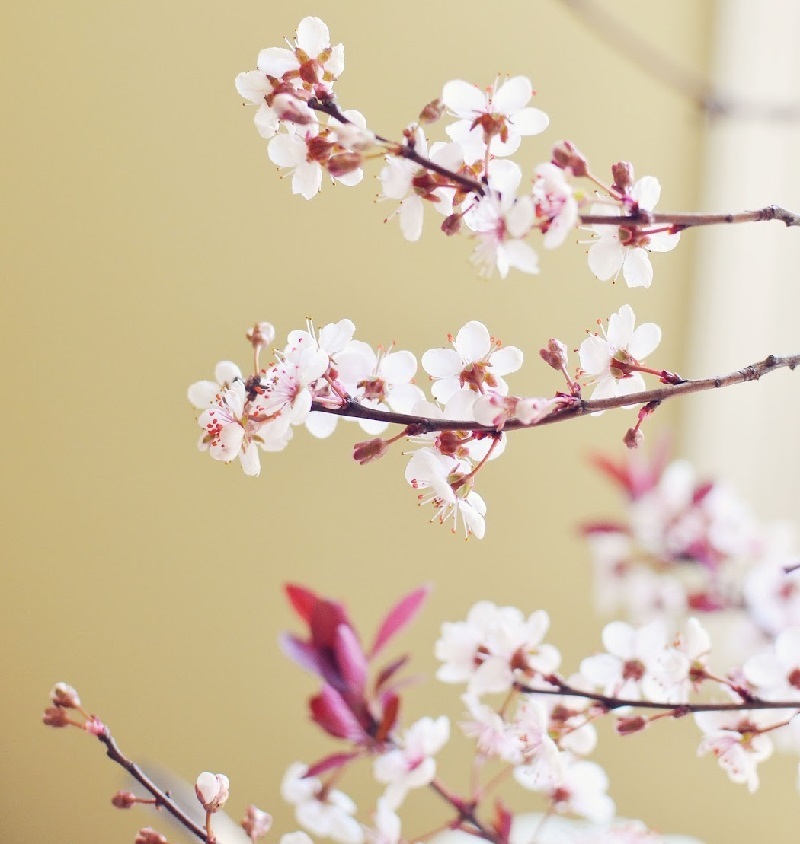
sand-cherry-blossoms.jpg

This plant is fairly nondescript during the summer and fall, save for it's easy-to-blend reddish-maroon leaves.  In spring however, this tree/bush breaks forth into the most spectacular, understated white blooms.  That is not the real show though.  The real show only happens when you start walking around your front yard, sniffing furiously to find what is making that incredible smell.  You hasten over to large flowers in bloom, thinking surely it must be some bright red or yellow something or other.  You stand under the weeping cherry, breathing deeply, but it is not the cherry. It is something more.  Then, you slam the car door a little too hard and accidentally hit that branch of sand cherry and boom.  The scent is overwhelming (in the most wonderful of ways) and you now know exactly what plant to thank for that delightful smell. The sand cherry.

 How to arrange cut branches?
arranging-cut-branches-in-vase.jpg

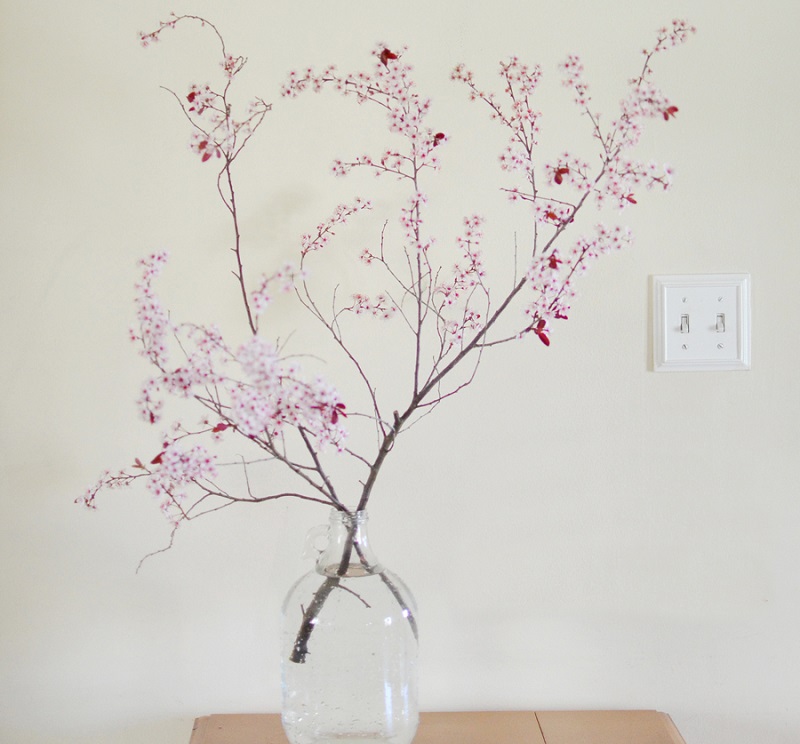
When arranging cut branches, you want a balanced arrangement, but that doesn't mean it needs to be perfectly symmetrical. You need balance because boy can those branches be heavy!  You don't want your vase tipping over! Aesthetically though, a little asymmetry can be nice.
 
1. So first, find a branch that has a nice "V" down low and centered on the branch.  This will offer a solid foundation for your arrangement.
 
how-to-arrange-branches.jpg
 
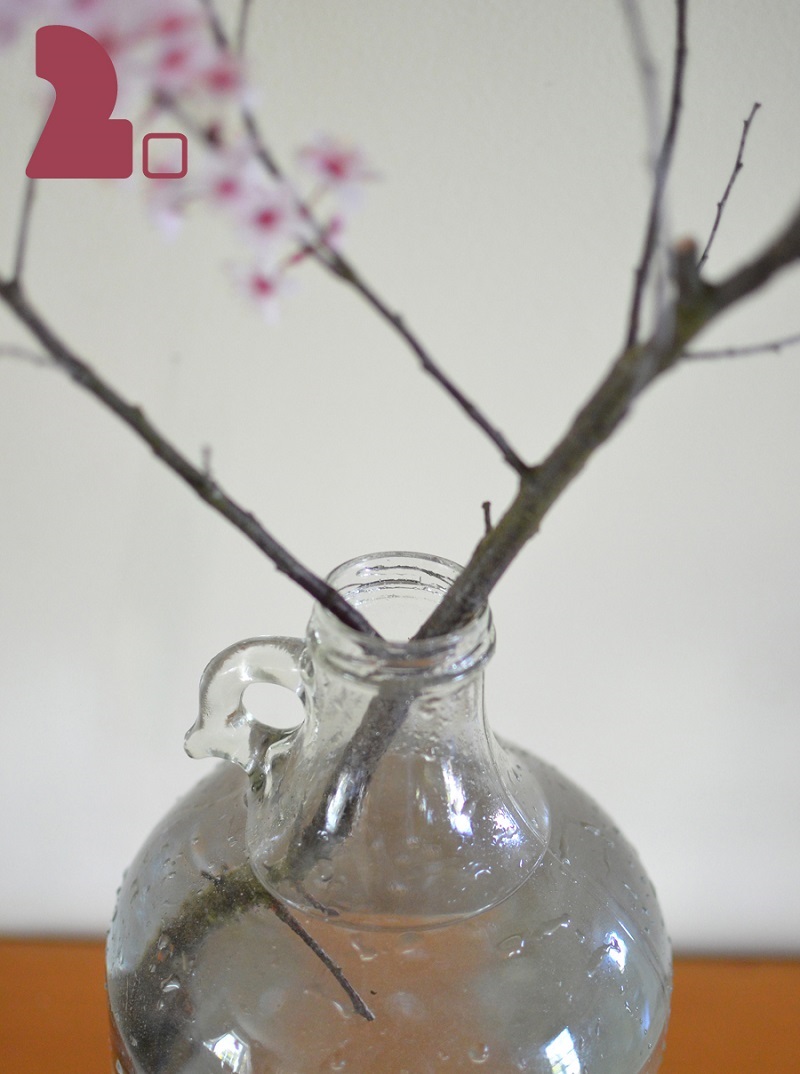
2.  Make sure you trim any small branches, leaves or flowers from the bottom and the "v" leaving it free and clear.
 
arranging-split-branches.jpg
 
3. Next, you want to add in a little height.  Balance height out to make sure the long, heavy branches are equal weight from side to side.  The perfect branches for your tall additions are long and very straight with just a few clusters of flowers on the tips.
 
balancing-cut-branches-in-vase.jpg
 
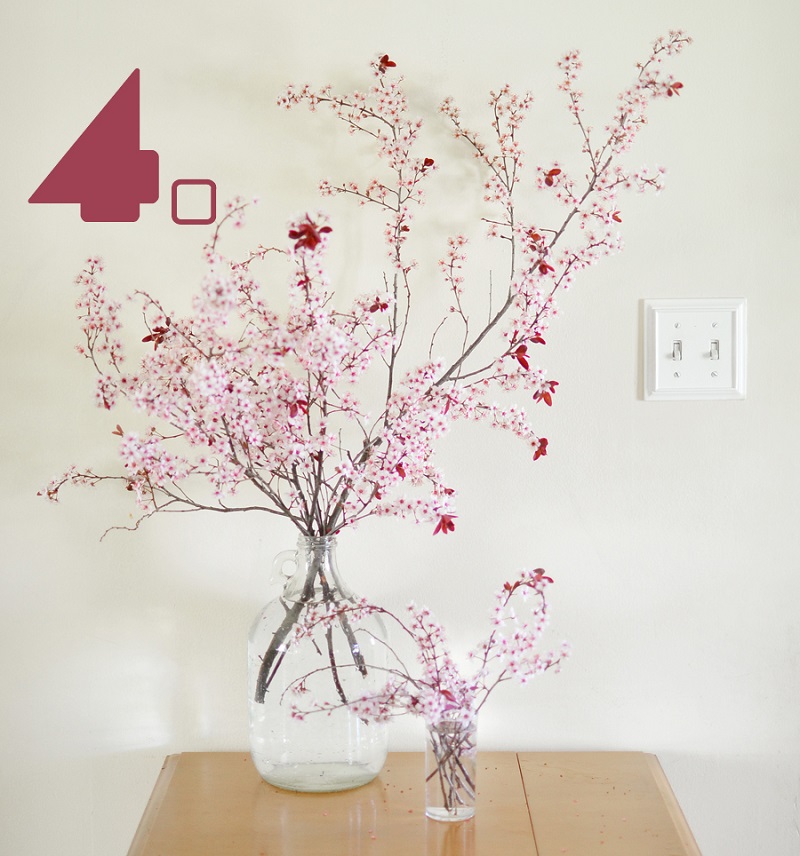
4.  This arrangement needs some filler!  See how empty it is in the middle?  Find a branch that has a cluster of branches all off of one main stem.  That is a good low cluster, centering the visual of your arrangement and giving it physical stability.
 
adding-filler-to-cut-branches.jpg
  
adding-filler-in-a-vase.jpg
 
5.  Trim off any spindly looking branches and now you can think more towards an asymmetrical look if you choose.  
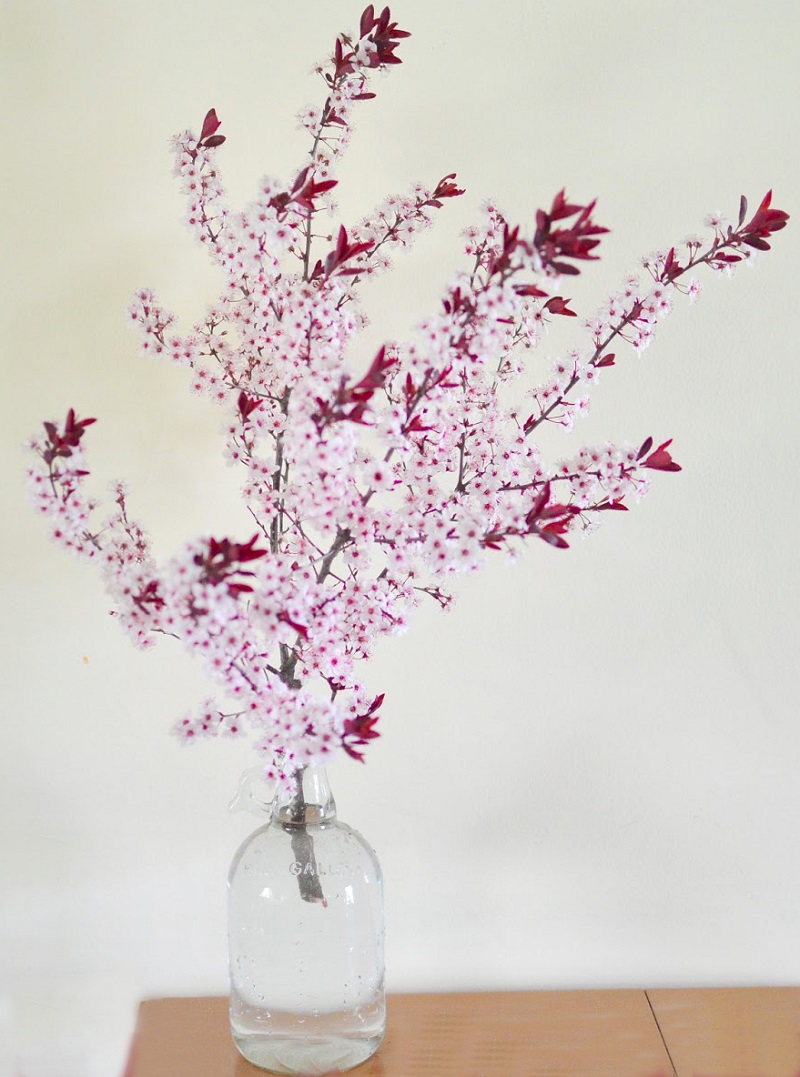
That filler in the middle is keeping the arrangement solid, so chop off some spindly growth on the top left to add more interest. You can go the super easy way and simply find a branch that is beautiful in its own right.  Cut and plop it in a jar.  And done.
 
single-branch-arrangement.jpg
 
Forcing branches comes at just the right time of year when it seems winter will just last forever.
 
Chris Link Profile Pic

Author Chris Link - Published 1-31-2022