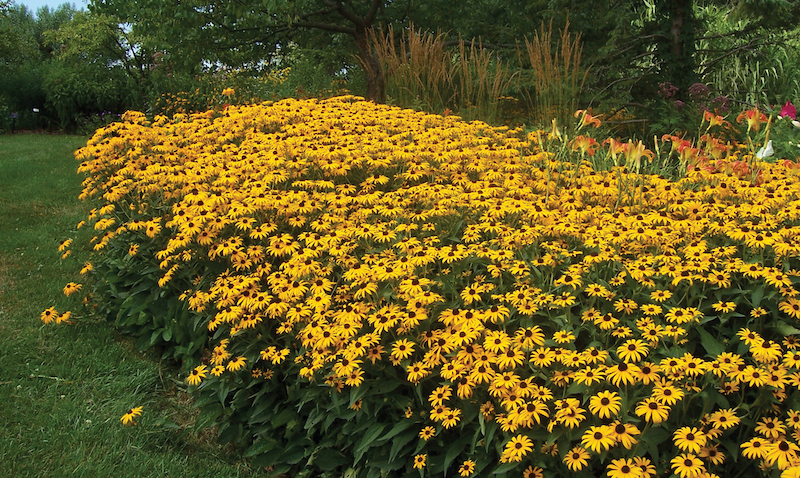
Black-Eyed Susans are a true North American native and one of the toughest perennials that you can grow. They need minimal supplemental fertilizer or watering after they establish and make great plants for naturalizing large, sunny areas. Black-Eyed Susans reproduce both by seed and by root divisions. The plants available in nurseries are container grown and the easiest to plant and establish. All cultivars will attract flocks of native pollinators and birds if you let this plant set seed.

What You Need To Plant Black-Eyed Susans
- Transplanting spade or small shovel
- Hand pruners
- Full sun location
- Compost to use as mulch
- Watering can or hose
Where to Plant Black-Eyed Susans
This perennial prefers to grow in full sun with at least 6 hours of direct sun each day. Shading early in the morning or late in the day is also acceptable. They grow best in average-textured, well-draining soil that is on the lean side. Black-Eyed Susans are like other native prairie plants and thrives in poor soil. Soil that is overly rich will encourage foliage growth while stunting blooming.

Black-Eyed Susan Spacing
Depending on the mature size, Black-Eyed Susan plants should be spaced far enough apart to provide good air circulation. Plants too close together tend to be affected by powdery mildew. Use the mature width as a guide to determine spacing between plants. If the width will be 3 feet, then place the plant 3 feet on center from the neighboring plant. Black-Eyed Susans rarely need extra support from hoops or stakes when they are in full bloom. The stems are sturdy and strong.

Steps To Plant Black-Eyed Susans
Step 1 - Choose a location in full sun
Step 2 - Dig a hole twice as wide and the same depth as the pot the plant is growing in
Step 3 - Carefully remove the plant from the pot and tease any compacted roots apart so that they grow into the soil
Step 4 - Place the plant in the hole at the same level it grew in the pot. Do not bury any stems too deep
Step 5 - Replace the soil around the rootball, making sure to firm it in gently so any large air pockets are filled in
Step 6 - Water around the base, making sure to fill in any remaining air pockets
Step 7 - Let water soak in well
Step 8 - Mulch around the base of the plant with organic compost or shredded leaves
When to Plant Black-Eyed Susans
Container-grown Black-Eyed Susans can be planted as soon as they are available in the nurseries, generally late spring and early summer. This perennial typically blooms the first year it is planted. Growing Black-Eyed Susans from seed is best done in trays or pots starting in the late summer or fall when the seed is ripe. Start seeds in pots or trays and put them in a sheltered spot outside where they will get natural rain and part sun. By the next spring, the small plant starts will be ready to be planted in their final spot.
Transplanting Black-Eyed Susans
Most varieties of Black-Eyed Susans are perennials that will benefit from being divided and transplanted every 3-4 years. The best time of year to do this is early spring, just as the new growth starts to emerge. Dividing in the fall is best done after blooming, before the plant goes dormant. Dig up a clump and break off chunks of plantlets. Make sure to keep as many roots attached as possible.
Replant the new clumps at the same depth they were growing. Water the area well and let the water fully absorb. Add a layer of organic compost around the root zone to help the soil retain moisture. Self-sown seedlings are easily moved and replanted in the spring. Make sure to water these in well. Small seedlings are more apt to suffer transplant shock because they have a smaller root ball.
 |
Author Robbin Small - Published 7-31-2022 |
