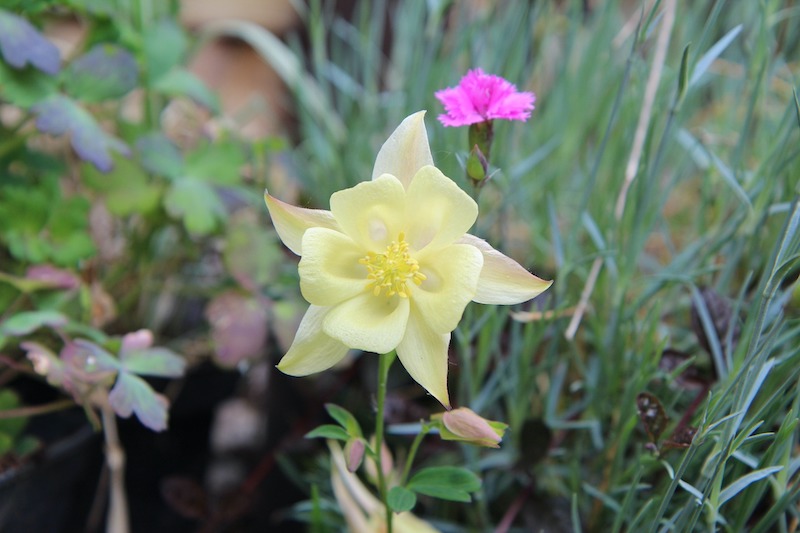
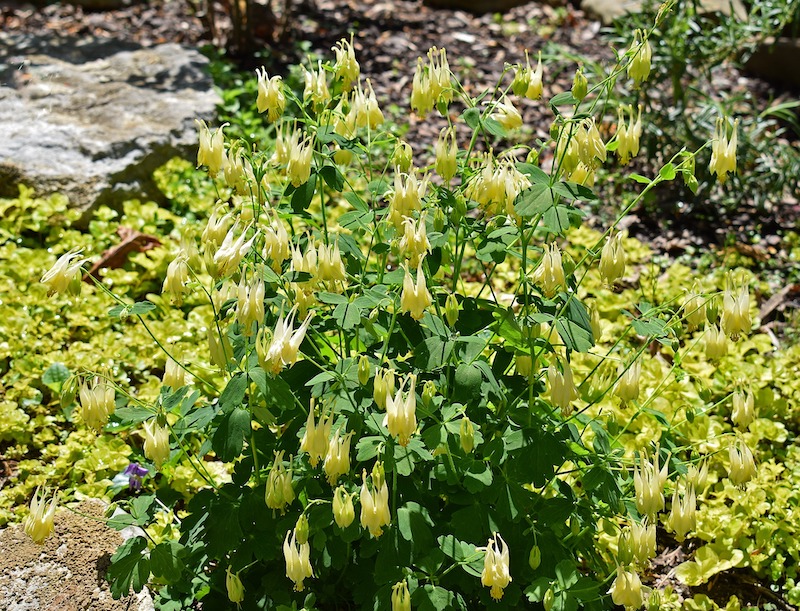
Columbine welcomes in the spring season alongside bulbs and spring-blooming shrubs. This perennial is at home as a ground cover in a woodland garden, just as much as it is in a cottage garden plan. Columbine works well in containers mixed with other spring and early summer annuals on a deck or as part of a smaller garden. Native varieties are available, such as Aquilegia canadensis, or more ornamental hybrids. Either type of Aquilegia attracts and supports native pollinators and hummingbirds early in the growing season. Columbine that is planted properly and well established will survive for years and provide new plants by self seeding.

What You Need to Plant Columbine
- Transplanting spade or small-headed shovel
- Compost or finely shredded bark/leaves to be used as mulch
- Access to water by hose or watering can
- Location that has part shade, dappled shade or bright shade
- Location that has well-draining soil
- Hand pruners
Where to Plant Columbine
Columbine needs part shade or dappled sunlight to perform the best. A spot that has full sun in the morning and shade during the afternoon is acceptable. The soil must be well-draining and slightly acidic, alkaline or fully neutral. Plant Columbine as deep in the soil as it was grown in the pot.

Columbine Spacing
Most varieties of Columbine are on the compact and shorter side. The overall height and width is typically 1 foot. Space multiple plants at 1 foot on center so that there is plenty of air circulation around the plants. Columbine will self-seed easily and can be left to naturalize smaller areas, or the new plants can be transplanted to other areas.
Steps to Plant Columbine
Step 1 - Choose a location in the garden with moderate sun exposure and well-draining soil.
Step 2 - Dig a hole as deep and wide as the root ball.
Step 3 - Carefully remove the plant from the container, gently teasing out any roots that are root bound.
Step 4 - Place the root ball in the hole and spread soil around the plant, gently pressing with your fingers to make sure no large air gaps remain.
Step 5 - Water the plant in well so that any air gaps remaining will be filled. Let the water soak in and then water around the outside of the root ball.
Step 6 - Apply 2-3 inches of organic mulch, keeping the mulch away from the crown of the Columbine.
Step 7 - Water 2-3 times a week, about one inch of water, for the first growing season.
When to Plant Columbine
Container-grown perennials can be planted any time from spring to summer. Ideally, Columbine will establish easier when planted early in the spring while the soil is still cool and the chance of rain is higher. Fall planting is also good for Columbine. If the plant has already gone dormant by planting time, make sure to mark where the root ball is, so that it will not be accidentally dug up in the spring. Columbine also appreciates being planted early in the day before the heat of the afternoon sets in. The plants will lose far less moisture and undergo less transplant shock.
Transplanting Columbine
Columbine tends to have very deep roots that do not like to be moved after they have been established. Dividing is possible and can be successful, as long as the whole root ball is lifted. Make sure to dig down around all sides before levering the plant out of the soil. Split the plant down the middle, keeping as much root connected to each half as possible. Immediately, replant both halves at the depth of the original plant, or plant in a pot to hold until later.
Columbine is easy to propagate by seed. They freely set seed in the summer and can be left to sow on their own, or the seeds can be started in seed trays and planted out after all danger of frost the next spring. Any unwanted seedlings that come up the following spring are easily pulled to keep under control.
 |
Author Robbin Small - Published 7-12-2022 |


