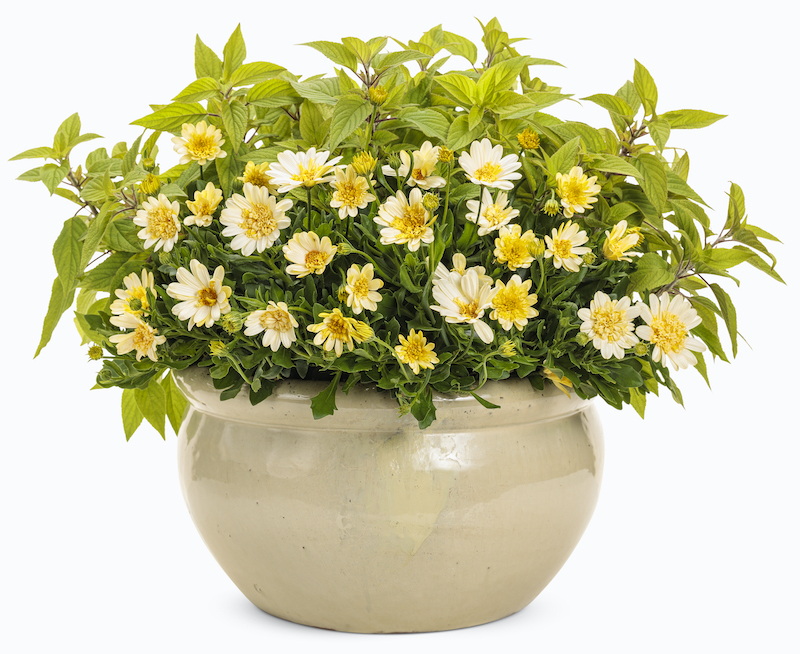
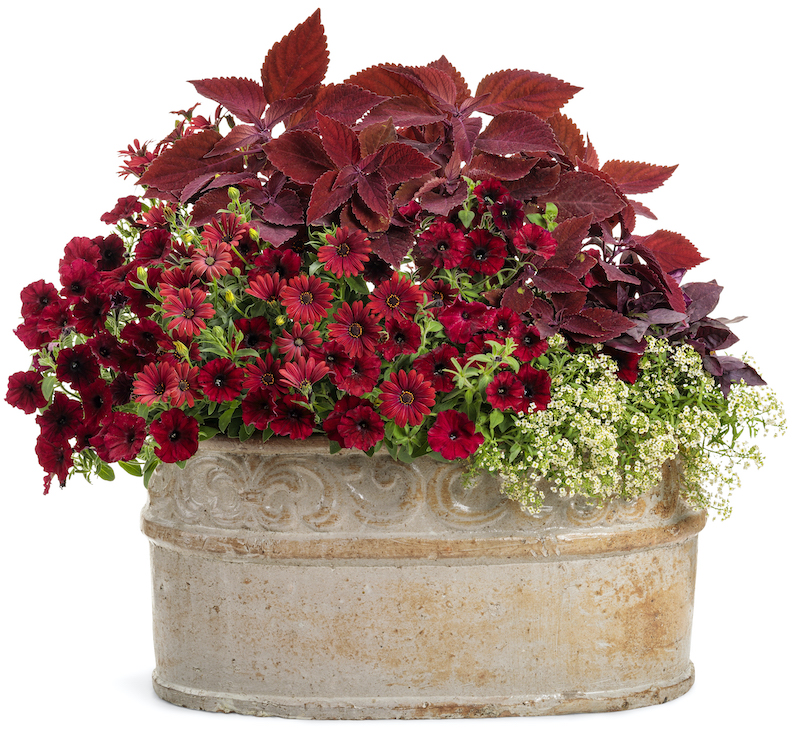
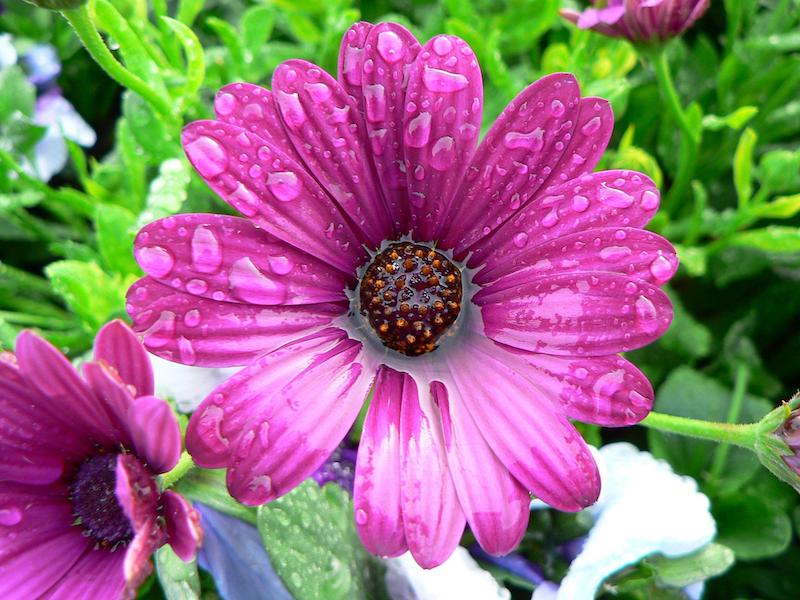
African Daisies are half-hardy perennials that are grown as annuals in most climates. The compact size makes them perfect for growing in a pot as part of a mixed planting with other seasonal annuals or growing alone as specimen plants. African Daisies can also be part of large hanging baskets. They look great with other annuals such as Petunias.

Planting African Daisy in Pots
All-purpose potting soil needs to be used in pots and containers. These soil mixes have added perlite or vermiculite to both lighten the texture of the soil and make it more moisture retentive. Using soil straight from the garden is not recommended as the texture is too heavy, and the pH levels may be too acidic or alkaline for most pot plants. African Daisies do not tolerate temperatures below 40 degrees F and do best when planted after all danger of frost has passed for your gardening zone. Often, this will occur late in the spring or early in the summer for the coldest zones. Ensure the pot receives at least 6-8 hours of full sun per day.
Shadier spots will reduce blooming and make African Daisies grow too leggy. These stressed plants then become targets for pests like aphids or thrips. Containers for growing African Daisies need to have many drainage holes, so that these drought-resistant plants do not spend time sitting in waterlogged soil. Terracotta or glazed pots are fine to use as long as they won’t be sitting out during cold weather. At the end of the growing season, the pots should be cleaned and safely stored in a garage or other sheltered location.

Best Soil For African Daisy in Pots
All-purpose potting soil, either organic or conventionally formulated, is the best soil for any container-grown plant. Bagged soils with added fertilizers are okay, although the nutrients will not last a whole growing season. Supplemental fertilizing will still need to be done on a regular schedule. Broken terra cotta pots or coffee filters can be placed over the drainage holes inside the pot if you are worried about soil being washed through the holes onto a deck or patio.
Thick layers of rock will not improve the drainage of a container. The stone will impede drainage by holding water in the space between the soil and the rock. The roots would then sit in the water with little exposure to the air they need.
Top-dress the pots with compost, which will have the same benefits as mulching plants in the garden. The topdressing keeps root zones cooler, retains moisture, and slowly releases nutrients as the plants are watered. You can replenish the topdressing annually.
Caring For African Daisy in Planters
Plants grown in a container will need a bit extra attention than those growing in the ground. The gardener will need to adopt regular watering and fertilizing schedules for potted African Daisies to thrive.
Watering African Daisy in Pots
African Daisies are naturally drought tolerant for short periods. Plants grown in pots require slightly more watering, but the plants like to dry out a bit between watering sessions. Watering should be checked daily, especially for smaller containers. Before watering, the soil must dry out 1-2 inches below the surface. In gardening zones with heavy spring and summer rains or high humidity, extra watering may not be needed daily. The roots will not tolerate overwatering.
Water the container long enough to see water running from the drainage holes. This lets you know that all of the potting soil has been completely saturated. If the soil in the pot has dried and it shrinks from the side of the pot, you can rehydrate the plant. Apply small amounts of water, letting it thoroughly soak in. If the pot is small enough, place a saucer or other tray underneath the pot. The saucer can be filled with water to let the plant soak up the moisture from the bottom. After all the water has been absorbed, remove the saucer and resume watering as usual.

Fertilizing African Daisy in Pots
African Daisies will need regular feedings of fertilizer formulated to encourage heavy blooming. Diluted liquid types are easiest to use and can be applied instead of regular watering. Every 2-3 weeks, apply the fertilizer diluted in water in place of a watering. High Phosphorus fertilizers such as Tomato or Rose food have the right balance of nutrients to encourage flowers over foliage production. Look for ratios of N-P-K that are similar to 2-6-4. Fertilizing can continue until the first frosts if you grow African Daisy as an annual; the plants do not need to prepare for winter.
If you garden in zones 9-11, where African Daisy is a tender perennial, fertilizing must stop at the beginning of August, so the plant can prepare for its winter routine. In zones with warm winters, African Daisy will stay evergreen through the winter and can benefit from continued feeding monthly.
Winter Care For African Daisy in Pots
Growing African Daisies as annuals does not involve any care over the winter. The plants will die back as soon as the frosts return in the fall and should be composted or thrown out before winter. The pots can be cleaned and stored for the next growing season. If you live in a gardening zone that is just on the edge of hardiness for African Daisy, i.e. zones 7 and 8, it would be worthwhile to move the whole pot to a sheltered spot or unheated greenhouse where the plant can go dormant for the winter with no danger of frost exposure. Taking soft cuttings from African Daisy is also a way to carry the plant over to the following year. Cuttings can be grown in the house until spring.
Growing African Daisy Indoors
African Daisy does not do well as a houseplant because most houses do not have enough light or humidity over the winter to support growth. If you garden in cold growing areas, taking cuttings is the best way to keep African Daisy in your garden the next growing season. Take cuttings that are about 4 inches long from nonflowering stems. Remove ½ the foliage and place the stem cut side down in a pot of seed-starting mix or perlite.
Water the pot well and put it in a bright spot where it can stay at room temperature with plenty of humidity. Once new leaves begin to grow, roots have developed and are growing well. Pot the cuttings into individual pots for transplanting in the spring after all risk of frost has passed.
 |
Author Robbin Small - Published 8-31-2022 |


