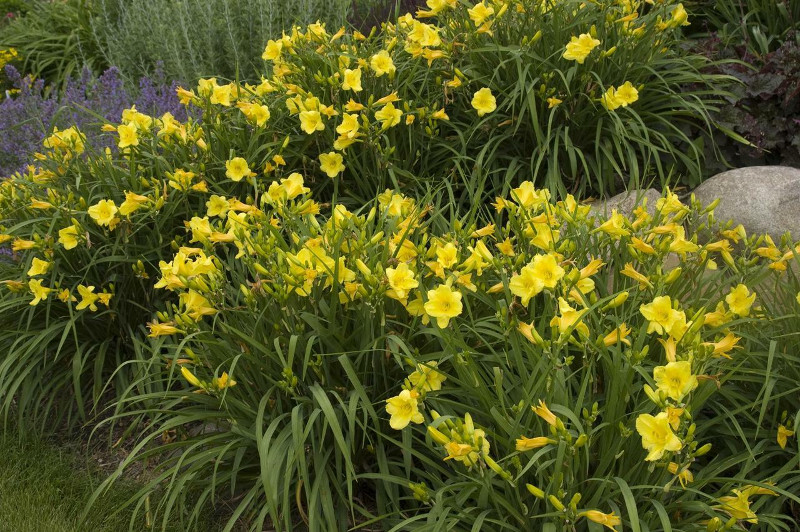
Daylilies, also known as Hemerocallis, are a perennial known for their showy flowers that bloom during the summer. There are many varieties of Daylily available in a wide selection of colors and flower forms. Flowers typically last for a single day, but each stem or scape boasts several flowers that continuously bloom so that the plant will give the appearance of consistent flowers for 4-5 weeks. Daylilies generally need very little care or maintenance when planted the correct way, making them an excellent landscaping plant for gardeners who are not very hands-on.

Daylilies are not true Lilies, so they are not prone to pests and diseases that make it challenging to grow Lilies. If you like the look but have not had success growing Lilies in the past, then Daylilies may be a good alternative.
What You Need To Plant Daylilies
- Shovel
- Compost or manure
- Garden spade
- Water source
Where to Plant Daylilies
The best spot for Daylilies will have at least 6 hours of full sunlight each day. Daylilies like moisture, but they do not like wet feet, so well-draining soil is a must. When planting Daylilies, dig a hole about 1 foot deep and create a mound of soil at the bottom. The root ball will be positioned on top of the dirt mound and hold the roots upright.
Daylilies Spacing
Space Daylily roots about 18-24 inches apart when planting. With time, Daylilies will grow and fill in that space. It will generally take several years for the plants to spread out and fill in an area.

Steps To Plant Daylilies
When planting bare-root Daylilies, the roots or rhizomes should be stored in a cool, dry place before planting. Soak the roots in room temperature water for 1-2 hours before planting. Established plants can stay in the pot until it is time to put the plant in the ground or a decorative container.
When planting Daylilies, you will need to dig a hole about 1 foot deep and an inch or two wider than the root ball. You can amend the soil with manure or compost. Mound the earth in the bottom of the hole and position the root ball on top of the mound. Fill in the hole and cover the crown or the top of the root ball—water daily for the first week or two after planting.
Step 1 - Pick out a good location
Step 2 - If planting bare roots, soak the roots for 1-2 hours before planting
Step 3 - Dig a hole
Step 4 - Add compost or manure to the soil
Step 5 - Position the roots in the hole
Step 6 - Fill the hole in, firmly pressing the soil in place and completely covering the top of the root ball
Step 7 - Water daily for 1-2 weeks
When to Plant Daylilies
Daylilies can be planted in the spring or fall, depending on your region. When planting in the south, try to get the Daylilies in the ground in early spring or mid to late fall to avoid the scorching hot temperatures of the summer. You want to give Daylilies time to acclimate after the ground thaws or before the first frost, so late spring or fall are both good times. When planting Daylilies in the fall, cover the soil with a couple of inches of mulch to further protect the roots from chilly temperatures.
It is possible to plant Daylilies in the summer; however, the plants may need frequent water for several weeks until they become acclimated.
Transplanting Daylilies
Established Daylilies can be divided during the early spring or late summer. Dig up a healthy and full plant, shake off loose soil, and separate or cut the root clump apart. Each section should have at least 2-3 sets of leaves and can immediately be replanted 18-24 inches apart. Water thoroughly after replanting.
 |
Author Alison Cotsonas - Published 12-09-2021 |


