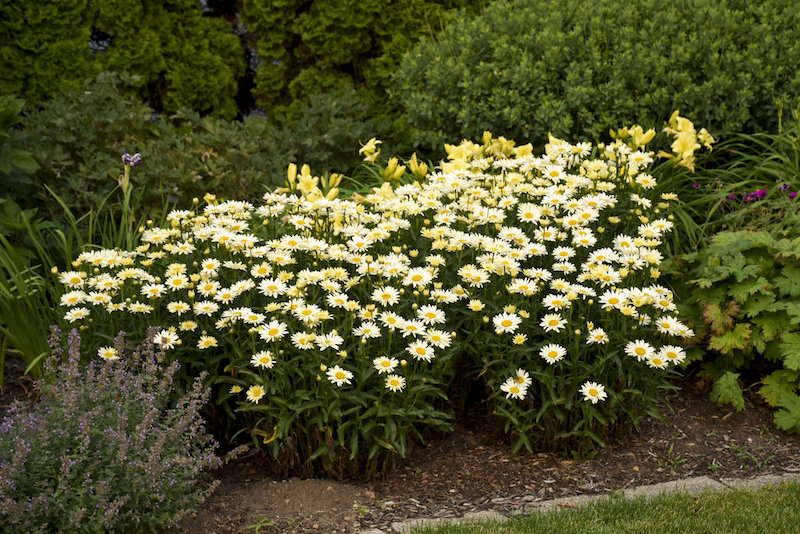
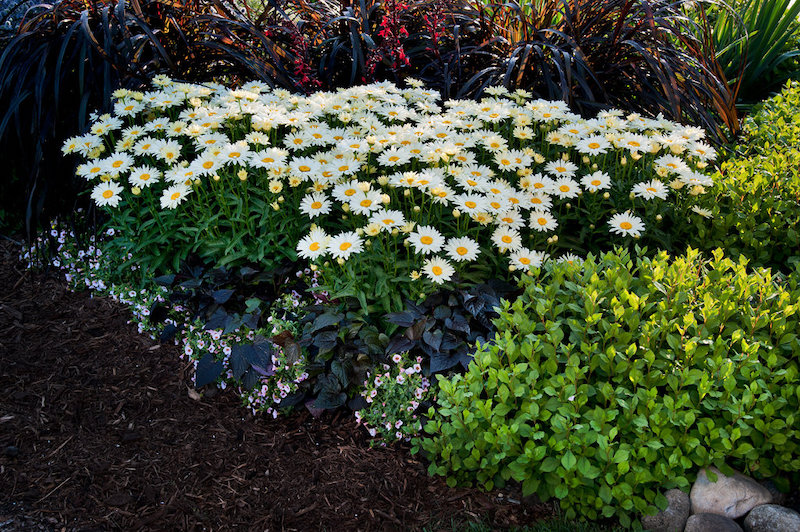
Herbaceous perennials are plants that go into a dormant period late in the fall. The top growth of foliage and flower stems die back to the ground just above a growth point or bud. As a result, there is little seasonal pruning needed to keep perennials such as Shasta Daisy looking good and growing well. Deadheading and cutting back in the fall or early spring are the only types of pruning needed for all cultivars of Shasta Daisies.

When to Prune Shasta Daisy
The top growth will need to be cut back once a year. The timing of this step will depend greatly on which growing zone you garden in. The colder zones (4-7) may want to let the spent top growth remain for the winter, providing extra insulation for the growth crown. Mulching the growth crown and root zone with 3-4 inches of straw, shredded leaves, or arborist chips for winter will provide extra insulation and insurance that the daisies will survive the winter. Gardeners in warmer zones (7-9) should treat the plants as semi-evergreen and cut back the dead and dying stems early in the fall, allowing a fresh flush foliage to grow in over the winter.
Deadheading is the other necessary pruning technique for Shasta Daisy. Removing spent flowers regularly during the season will encourage more flowers to form. Cut flower stems all of the way back to the ground to hide any naked stems and keep the entire plant compact and bushy. Deadheading can be done throughout the season as needed and will help restrict self-seeding for some of the more aggressive Shasta Daisy cultivars.

Why Prune Shasta Daisy
Pruning of Shasta Daisy helps to encourage a dense, bushy form and prolongs blooming during the summer. Regularly cut back leggy growth in potted Shasta Daisies, which will promote a full appearance. Cutting blooms for arrangements also encourages more flower stems to form and prevents self-seeding.
How to Prune Shasta Daisy
Step 1 - Deadheading
Cut back spent flowers all of the way to the basal layer of leaves. This eliminates any naked stems and keeps the plant compact and dense.
Step 2 - Remove damaged stems
Regularly check for stems that have been broken or damaged by animals. Removing them will reduce the chances of pests and diseases affecting the plant.
Step 3 - Seasonal removal of top growth
Cut back dead or dying top growth either in the fall or late winter to allow for new growth of leaf rosettes. Plant material that is infected with diseases or pests should be burned or thrown in the trash to prevent it from spreading to other plants. Clean plant material can be composted, or shredded to use as mulch.
Shasta Daisy Pruning Tips
- Deadhead to prolong the blooming period
- Remove damaged and diseased stems as soon as possible to prevent pests and diseases from spreading to other plants
- Remove spent foliage seasonally
 |
Author Robbin Small - Published 3-13-2023 |
