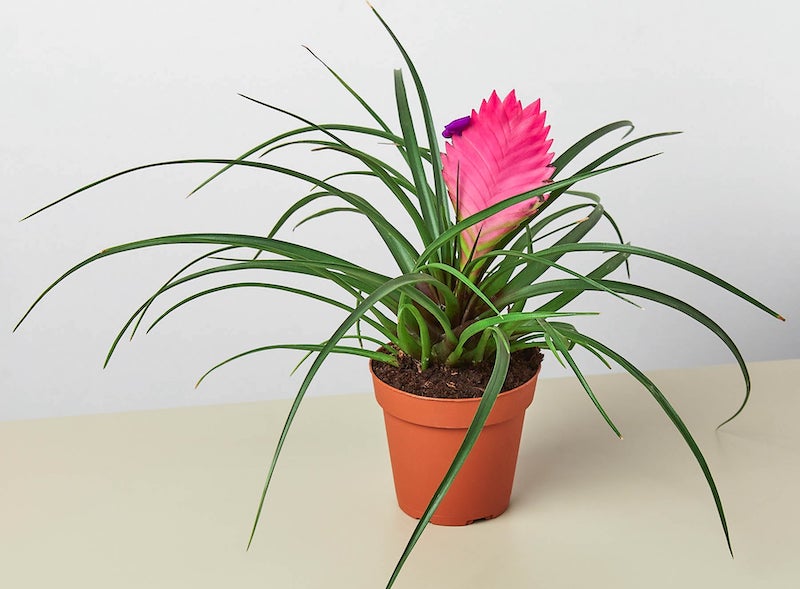
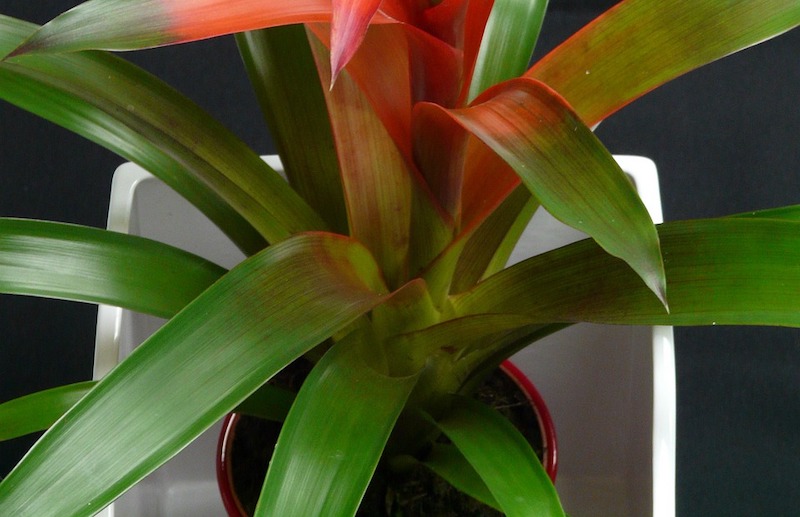
Bromeliads are mainly native to the subtropical regions of North and South America and were popular for a wide variety of uses with the indigenous people of Yucatán. These plants have shallow root systems and collect water in a central cup, or absorb water and nutrients from the air like many air plants. Many are epiphytes and do not need soil to grow. Instead, they naturally cling to structures like tree bark and rocks and absorb water and nutrients through their leaves. If you’ve ever seen a pineapple plant, you’ve seen a bromeliad.

Most bromeliads fit in pots size 6 and below. Due to the shallow roots, you’ll want to keep bromeliads in the smallest pot size possible. Refreshing the potting medium when the bromeliad has outgrown its container will improve the plant’s overall health and appearance. Find some great tips for potting up a bromeliad below.
Potting Bromeliads
When potting bromeliads, it’s a good idea to use gardening gloves since these plants usually have spines on their leaves. Remove the bromeliad from its nursery pot and set it in the new pot, which should be only one size larger. Use a potting medium that is formulated for low-moisture plants, such as orchid bark combined with perlite and horticultural charcoal in about equal parts, or use an orchid potting blend. It’s important that the pot be no more than a third larger than the root ball, as this houseplant doesn’t like large, deep, or thick pots. The bromeliad root ball should be planted level with soil, leaving ¾ to 1 inch of space on top. Pour some water in the center cup of the plant to give it a drink. Every ten days, you should refresh the water in the cup by dumping out the old water and replacing it with fresh room-temperature water.
Repotting Bromeliads
For best growth results, repot your plants if you see roots coming out of it. Spring is a good time for repotting because the plant has time to recover during the growing season. Carefully pop the plant out of its old container, and fill a new pot about halfway with growing medium. If you have a mother bromeliad who produced a pup, you can repot the pup alone or wait for the mother plant to expire and remove it when the pup is about a third the size of the mother plant. Use sharp, clean gardening shears to take the pup off of the mother plant. Prevent root rot by only planting the bromeliad as deep as the base of the plant. The pup will grow roots if you keep it moist and give it bright, indirect sunlight.
Best Soil For Bromeliads
Bromeliads need a light, well-aerated potting medium, such as a mix of 2/3 peat moss and 1/3 sand. You may also choose any other low-soil medium like sphagnum moss or orchid bark combined with charcoal and perlite. It is important to use a potting medium that is formulated for low-moisture plants and doesn’t retain moisture for too long. Fill around the root ball with the orchid bark, perlite, and horticultural charcoal in about equal parts, or use a nutrient-rich commercial product such as The Espoma Company’s Organic Orchid Mix.

Bromeliads Drainage
Ensure that the pot or container for your bromeliad has adequate drainage. Bromeliads do best when they are planted in shallow pots with good drainage. Have a planter saucer underneath the pot so the water doesn’t make a mess indoors. You may also choose to slip a nursery pot inside a decorative pot if the decorative pot doesn’t have drainage. Always keep in mind that bromeliads can grow in low-soil areas and must be able to drain water quickly and easily.
 |
Author Chris Link - Published 6-23-2023 |
