Elderberry or Sambucus (most commonly Sambucus Canadensis or Sambucus nigra) is a beautiful flowering shrub with big white flowers. It was once part of the honeysuckle family but now resides in the Adoxaceae family. The Adoxaceae family is commonly known as the moschatel family with 150-200 species of opposite leaved shrubs that have small petaled flowers and dark purplish-black drupe fruit.
The dark-purplish fruit can be used to make tinctures and syrups making elderberry one of the most commonly used medicinal plants in the world. Given the right conditions, Elderberry shrubs are easy to establish and grow in your own backyard. Read the steps below for how to successfully plant your own elderberry plant.

What You Need to Plant Elderberry
- Shovel
- Compost or manure
- Mulch
- Water source
Where to Plant Elderberry
Ideally, Elderberry prefers rich, moist, and slightly acidic soils in sun to partial shade. Being tough and adaptable plants, they will also tolerate a range of conditions. Elderberry prefers sun to part-shade; they don’t want to be overly scorched by the sun in super hot and arid locations. Choose a nice part-sun to part-shade section of your garden with well-drained and fertile soil.
Once you have a nice spot in mind, be sure to test the soil pH of your intended planting location. You can contact your local Extension Agent for soil testing details and parameters. Ideal soil pH for elderberries is 5.5-6.6.
Elderberry Plant Spacing
Planting elderberries in pairs will encourage cross-pollination and potentially increase your yield of nutritious dark berries! If planting more than one elderberry, plant 6-8 ft. apart. If planting just one, give them a good at least 6 ft. radius from other plants for their future spread of 8-12ft. Elderberries do not need additional growing support but they can get 8-12 ft tall.

Steps To Plant Elderberry
Step 1: To plant your elderberry, dig a hole twice as wide as the width of your nursery pot and at least 2 inches deeper than the height of your nursery pot.
Step 2: Add some compost into the dug hole.
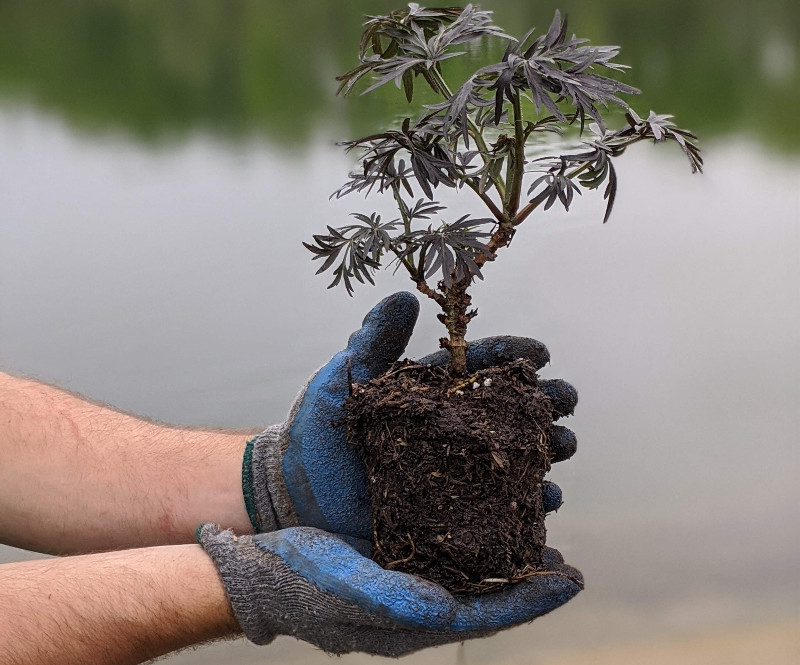
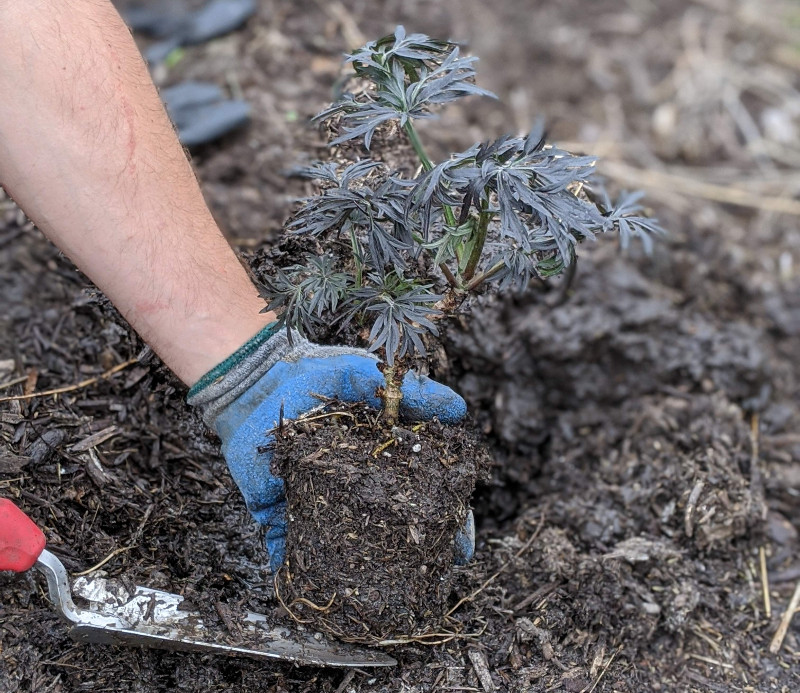
Step 3: Loosen the roots gently of your elderberry and place in the hole
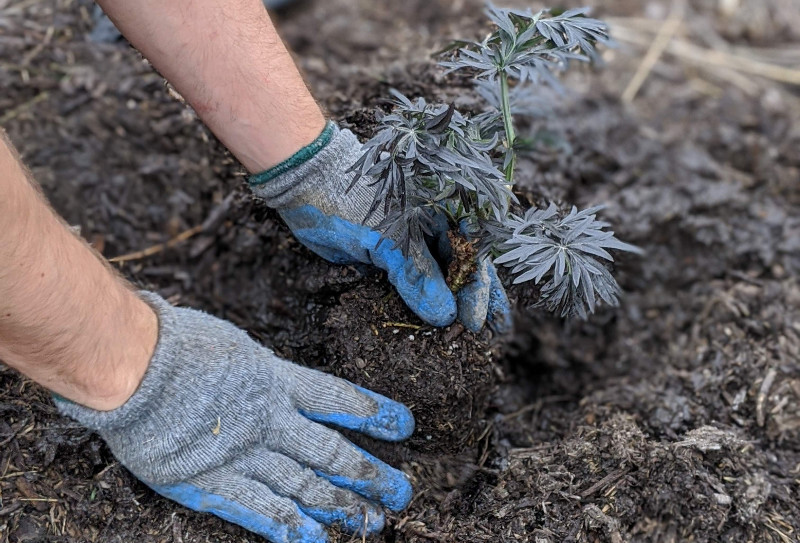
Step 4: Backfill with surrounding soil and additional compost.
Step 5: Water in thoroughly after planting.
Step 6: Keep well watered until established.
When to Plant Elderberry
The best time of year to plant your Elderberry is in early spring after all threat of frost has passed. It is best to plant in the early morning or evening to avoid the peak heat of the day, allowing your plant to settle into its new location with limited stress.
The next best time to plant your Elderberry is in early fall 6-8 weeks prior to the first frost to allow the plant to establish itself before cold temperatures set in. Be sure to keep your elderberry well watered for several weeks as it gets established.

Transplanting Elderberry
Since Elderberries are shallow rooted shrubs (about 2”) make sure they stay well watered after planting. Do not fertilize the plants until they are fully leafed out. Fertilize once a year in the spring with a granular organic fertilizer. Elderberries mature in about 2-3 years. Older branches can be removed in the winter when the plant is dormant.
When plants defoliate in late fall it is the best time to dig up and move, divide, or repot an elderberry. Since they are shallowly rooted, you do not need to dig too deep to move the plants.
Springtime is the best time to take cuttings and propagate an elderberry. Cut from young branches with at least 4 buds in segments around 12” long. Cut on a diagonal, remove the bottom few leaf buds and then soak the bottoms in water for at least 24 hours. Once soaked, you can push the cut end into soil, water thoroughly and continue to keep well watered until rooted.
 |
Author Katie Endicott - Published 11-20-2020 |


