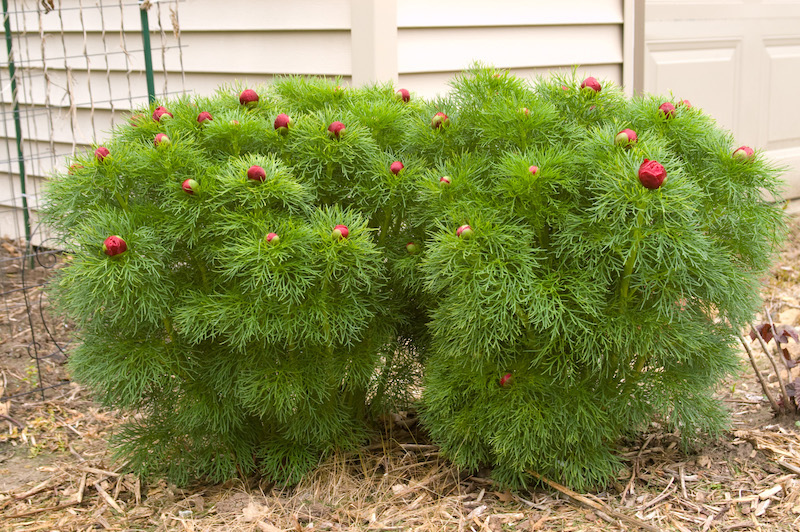
Peonies are a beautiful investment for your garden, as they are known to live over 100 years and can be handed down through generations of gardeners. Fall is the best time to plant herbaceous Peonies. While they may take up to 3 years to fully mature, you will get lovely blooms each spring on very young plants only to increase in size and quantity the following growing year. Peonies grow well in Zones 2-8 and require a period of winter dormancy for proper bud production in the spring.

What You Need To Plant Peonies
- Shovel
- Garden compost
- Garden spade
- Sunny location
- Water source
Where to Plant Peonies
Peonies need full sun to bloom properly, planted in well-draining soil, and it's best to select an area that doesn’t get harsh direct winds. Peonies will flower best when they receive at least 6-8 hours of direct sunlight daily.

Peonies Spacing
Plant Peony tubers at least 3-4 feet away from each other and make sure they are not crowded by other plants. Be sure to plant Peonies in an area that is protected from strong winds. Space each plant according to its mature width, and make sure other trees, shrubs or structures are not casting a shadow over your Peony. The foliage can be prone to powdery mildew and peony blight, so provide adequate spacing around each plant to ensure proper air circulation.
Steps To Plant Peonies
Peonies have tuberous roots, similar to a potato. The tubers have growing points, or ‘eyes’, which are the growing points where stems and foliage will grow in spring. When you plant the tubers, have the growing points or eyes just 2 inches below the soil surface. They must be planted fairly shallow. Find a full-sun location to plant Peonies where they will receive 6-8 hours of direct sunlight daily.
Dig up the soil, and chop it up with your shovel to make sure the soil is loose. The hole shouldn’t be deep, about 12-18 inches so the eyes are covered. Amend the soil by mixing in a couple handfuls of organic garden compost. Next, gently place the tuber upright in the hole, making sure the top is only 1 1/2 - 2 inches below the soil surface, with the eyes or growing points facing upward. Backfill the hole with the displaced soil. Press on the soil to remove any air pockets, then water the area well.
Step 1 - Select a sunny location.
Step 2 - Dig a hole wider but not much deeper than the height of the tuber.
Step 3 - Chop up the soil to help the roots spread out to establish well.
Step 4 - Add a little bit of garden compost, and mix well with the existing soil.
Step 5 - Gently place the Peony tuber in the hole with the growing points facing upward, then gently backfill the hole. The top of the Peony tuber should only be planted 1 1/2 - 2 inches below the surface.
Step 6 - Press soil firmly around the tuber to remove any air pockets.
Step 7 - Water thoroughly around the tuber, do not splash water on the foliage.
When to Plant Peonies
These tuberous plants are best planted in the fall. The cooler soil temperatures in fall trigger root development, helping the plants establish quickly. By contrast, the warmer soils in spring suppress root growth, so the root system of spring-planted peonies is often inadequate to support growth during the hot and dry conditions of summer. Wait to plant peonies until temps cool down to 45-50 degrees F for evening low temperatures, and allow Peony tubers 6 weeks to get established before the first hard freeze.
Transplanting Peonies
Peonies can exist in the same spot for many years; however, it may be necessary to relocate the plant if they become shaded by trees or large shrubs. You can move them to a full-sun location to encourage vigorous blooming. The best time to transplant peonies is in the fall when peonies produce most of their roots. Large mature plants can be dug up and their tubers divided to make additional plants; this also helps rejuvenate the Peony.
In the fall, cut all foliage to the ground. Dig up around the root mass. Overestimate the area to be dug up so you don’t dig into and cut existing roots. Gently shake the tuber clump to remove extra soil. Take a sterilized sharp knife and cut the largest tubers in sections, making sure each division has several eyes. Replant in a sunny location at a shallow depth, and water the soil well.
 |
Author Chris Link - Published 02-13-2023 |
