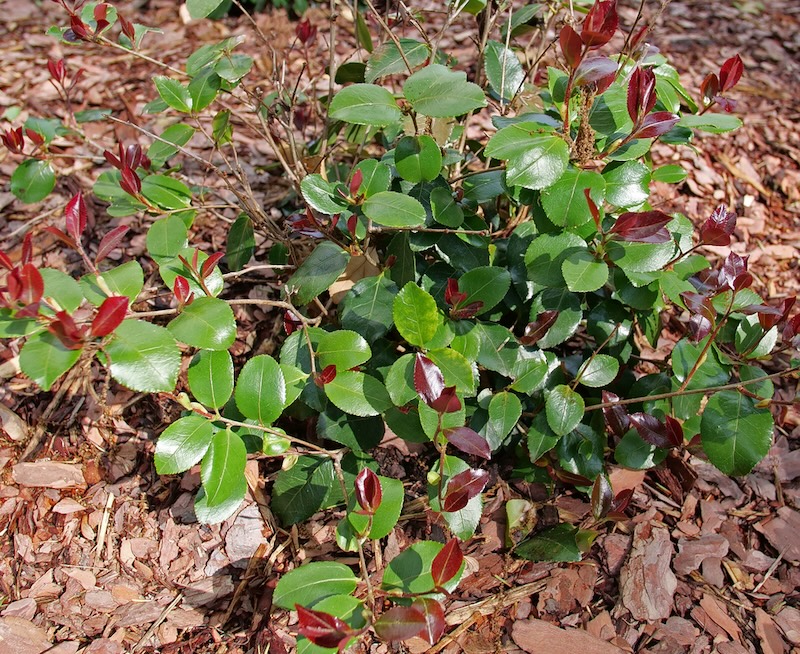
Winter and spring blooming Camellia are a welcome sight in any garden, perfect for growing in shady locations where few other blooming shrubs thrive. The most successful method of propagating these showstopping bloomers is by taking semi-hardwood cuttings and allowing at least one year for the cuttings to grow a strong root system before planting them in the garden.

Methods To Propagate Camellia
Taking semi-hardwood cuttings is best done well after your camellia has finished blooming. Wait until new growth has emerged in the early summer, and the stems are beginning to develop wood. Hardwood cuttings can also be used for propagation but they take longer to develop roots. Hardwood cuttings can be taken late in fall or early winter.
What You Need To Propagate Camellia
The equipment needed for taking and growing cuttings is commonly found in most gardeners' tool kits. Gather sharp hand pruners, a sharpened pocket knife, peat-free potting mix or 100% perlite, water for wetting the growing medium, and optionally, either powdered or gel rooting hormone. Rooting hormone may reduce the time it takes for the cuttings to strike and grow roots, but it is not absolutely necessary for success.
Best Time To Propagate Camellia
Take semi-hard cutting in the early summer after your camellia has finished blooming. Hardwood cuttings should be taken after the stems have developed wood early in the fall. Choose stems that have no flowers or developing buds, only leaves and leaf buds.
Steps To Propagate Camellia
Step 1 - Choose a stem that has no flower buds and is between 6-10 inches long. Cut it just above a set of leaves, being careful to not damage any developing buds.
Step 2 - Remove all but the top two sets of leaves to expose the stem.
Step 3 - If using rooting hormone, dip the freshly cut bottom into the powder or gel to apply an even amount.
Step 4 - Prepare a 6-inch or one-gallon pot by filling it with potting mix or perlite and watering until the excess liquid drains from the bottom. (Tip: let peat-free potting mix sit for a few minutes after watering to allow the material to fully expand with moisture.)
Step 5 - Plant the cuttings in the pot around the edges, slightly spacing them out. Push the stems 1-2 inches deep, with at least 2 nodes buried.
Step 6 - Place the cuttings in bright indirect light, either indoors or outdoors where you can monitor them for watering.
Caring For Young Camellia
Cuttings will need at least one growing season to develop a viable root system. If the cuttings are taken in the fall, an unheated greenhouse or cold frame is the perfect location to store them over the winter. Make sure to provide ventilation on sunny days when the temperature of a greenhouse or cold frame can increase quickly.
New growth is a sign that your cuttings have rooted successfully. At this point, your new plant should be grown outdoors in a partially shaded location until it is big enough for planting in the garden. Continue to water so that the plants do not dry out, as the tender new roots are sensitive to dehydration. Fertilize the plants after they have been growing in containers for 6 months or more. Use a diluted liquid formula such as liquid kelp or fish emulsion.
 |
Author Robbin Small - Published 1-8-2024 |
