Croton is a lovely houseplant with large glossy foliage and can be easily propagated by softwood cuttings and air layering. Cuttings of Crotons typically take from 4 to 8 weeks before they are able to grow on their own in a separate container. Alternatively, some plants produce offshoots called ‘sports’ that can be separated from the mother plant and grown into new plants. Growing Crotons from seed is laborious and generally not recommended.

Methods To Propagate Croton
The easiest way to propagate Croton is by taking softwood cuttings of stems during the summer months. The active growing period during summer produces fresh young shoots that will root relatively fast to produce more plants. The second best propagation method is air layering, where moist sphagnum moss is wrapped around a wounded stem. The leaf stems will readily produce roots and small plantlets that can be separated from the parent plant by early fall.
Growing Croton from seed is very difficult and rarely successful for the home gardener. The seed of Croton is short-lived and does not always come true to the parent plant. Some varieties of Croton will produce side shoots or ‘sports’, which are really small plantlets. These offshoots may be different from the parent plant, but can easily be divided and planted in their own containers.
Best Rooting Media To Propagate Croton
The best rooting medium for Croton will have a high ratio of perlite to soil. Two parts perlite to one-part potting mix allows good air circulation while retaining moisture around the cutting. Alternatively, you can also use pure perlite, which reduces the risk of rot. Once the cuttings have rooted, they will need to be potted into a free-draining and peat-free potting mix.

Steps To Propagate Croton
Step 1 - Always wear gloves to protect your skin from any irritating sap that oozes from the cuttings.
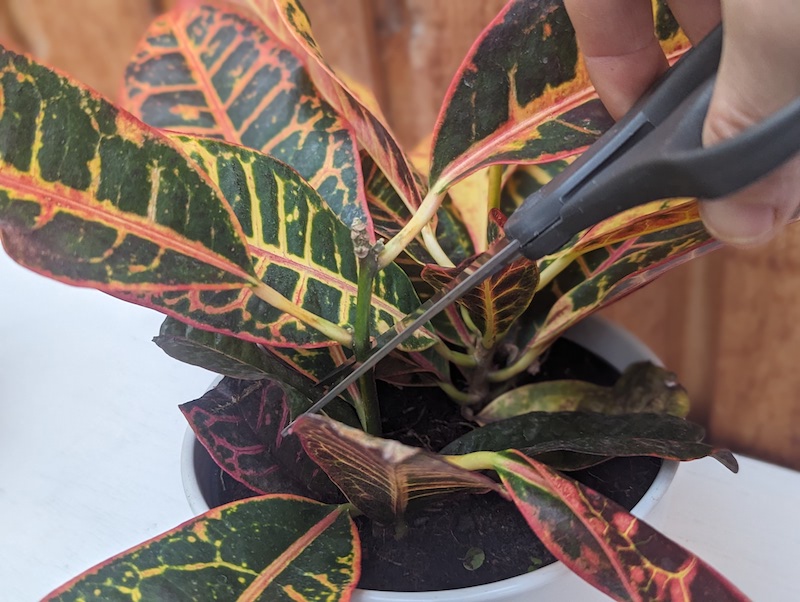
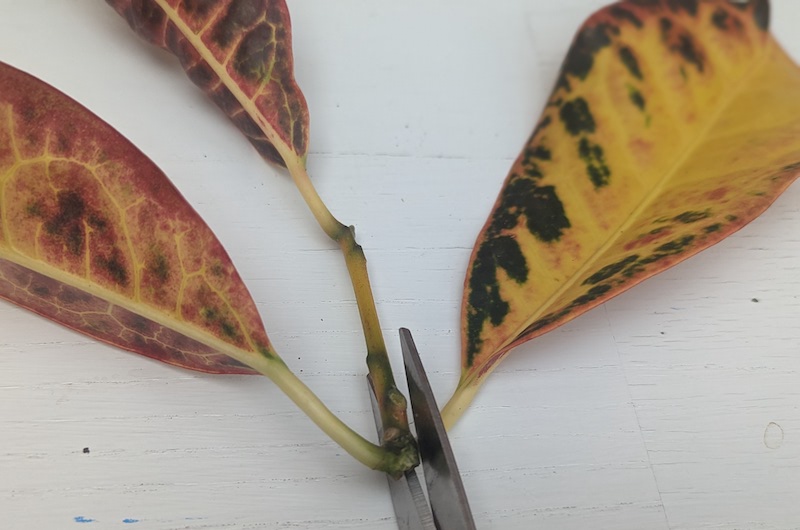
Step 2 - Snip a side shoot at least 6 inches long with two or more pairs of leaves.
Step 3 - Fill a 4 or 6-inch pot with potting mix or straight perlite, lightly tamping down the surface to make the soil firm.
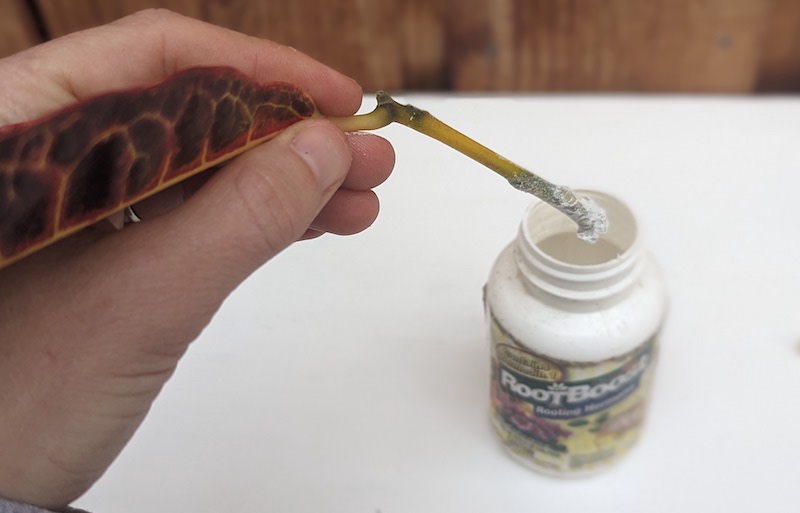
Step 4 - Remove all but one set of leaves from the cutting. Dip the tip of the stem into a powdered or gel rooting hormone to help speed up rooting.
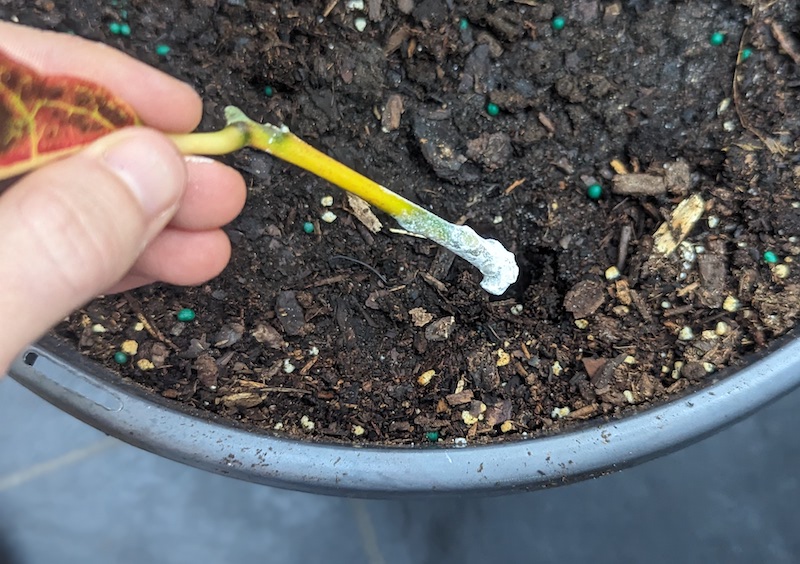
Step 5 - Slide the cutting about an inch into the potting mix, covering one or two nodes.
Step 6 - Add more cuttings if needed and then water the container well.
Step 7 - Cover the pot with a clear plastic bag or propagation cover to retain humidity around the cuttings until they root.
Step 8 - Place the pot in bright, indirect light with consistently warm temperatures around 65 degrees Fahrenheit.

Caring For Croton Cuttings
Check the cuttings daily and remove the plastic cover as soon as new growth emerges from the top set of leaves. This will indicate the growth of roots. Continue to water and grow cuttings in the same container until roots emerge from the bottom drainage holes.

Transplanting Croton Cuttings
When cuttings are large enough to easily handle, separate them from each other in the pot by gently teasing the roots apart. Replant each cutting into its own 6-inch pot filled with a peat-free potting mix. Water thoroughly and fertilize with a diluted liquid fertilizer. Place the new plants in bright indirect light and care for them similarly to the parent plant.
 |
Author Robbin Small - Published 10-22-2023 |
