Juniper is a low-maintenance evergreen that adds effortless color and texture to a space. Known for being drought tolerant, juniper is excellent for busy or inexperienced gardeners who want the look of a manicured space without much work. This perennial is available in all shapes and sizes, so it is easy to find a variety that works for your landscape. Juniper is also easy to propagate, so once you find a cultivar that works well in your yard, you can propagate more of them and enjoy a full and lush landscape.

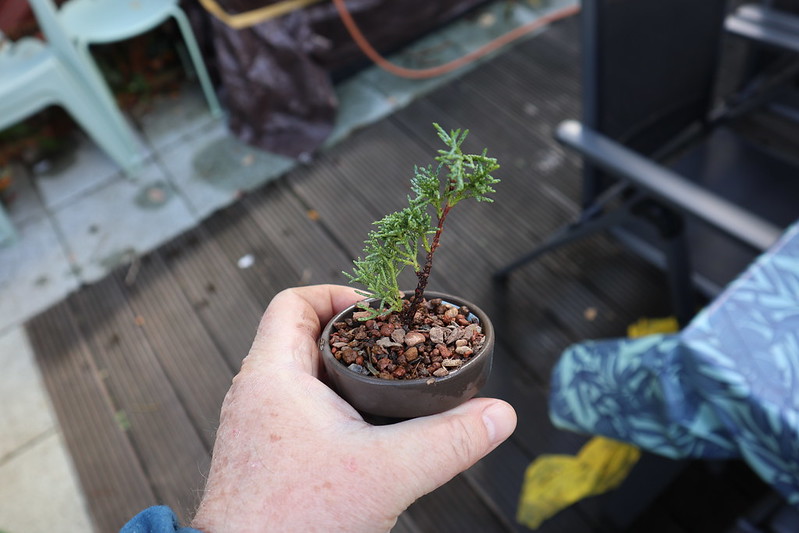
Photo by Jerry Norbury, unedited, Flickr, copyright CC BY-ND 2.0 DEED
Methods To Propagate Juniper
You can propagate junipers through cuttings, seed, or laying. Cuttings are often the easiest and most effective method. It usually takes 6 to 12 months from the time a cutting is taken until it can be planted outdoors.
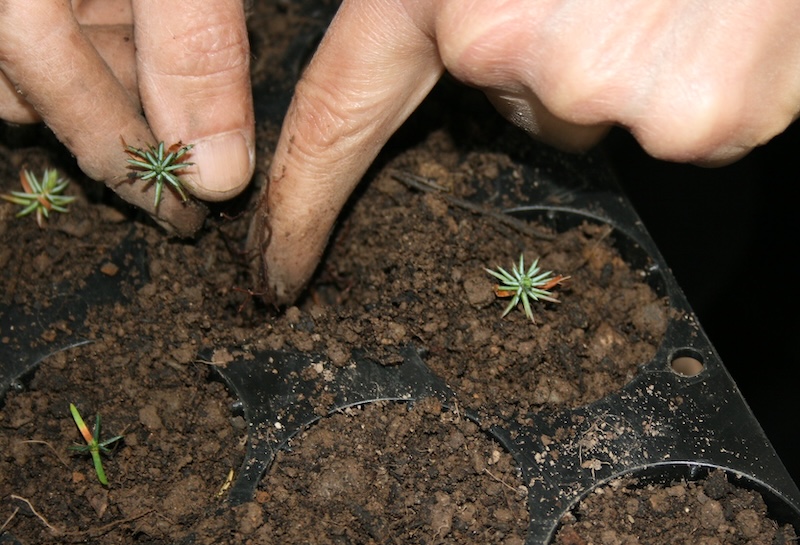
Juniper plants are easy to grow from seeds. Harvest seeds in the fall, store them in a cool, dry place, and sow the seeds in the spring. While this process is easy, the young plant will need extra care and attention for the first couple of years, and it will take years to grow a mature shrub.
Layering is a process of bending and securing a low branch, so it is still attached to the plant but also touches the ground. With time, the branch will develop roots and become a viable shrub, at which point it can be removed from the parent plant. Layering often takes several years, so it is a long process.

Photo by Chris Cant, cropped, Flickr, copyright CC BY 2.0 DEED
What You Need To Propagate Juniper
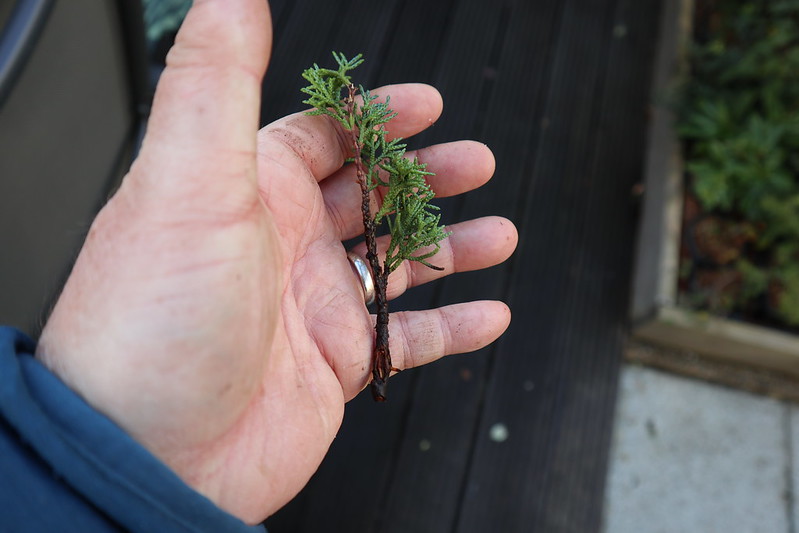
Remove a stem cutting with sharp, clean pruning shears. Plant the cutting in a container with drainage, using rich, well-drained soil as a rooting medium. Some gardeners find a rooting hormone to be helpful, and it is, but it isn’t strictly necessary. Juniper cuttings require increased humidity to root, so place them in a greenhouse or use plastic to tent or dome the cutting, creating a greenhouse effect.
Best Time To Propagate Juniper
Trim stem cuttings in late winter or early spring. The ideal time to take cuttings is when the dormancy phase ends and the shrub begins to grow actively. Prepare the shrub by ensuring it is adequately watered the day before pruning, and ideally, take the cutting early in the morning. Avoid taking cuttings during the summer. Trimming a juniper during the summer heat is stressful to the plant, and the cutting is less likely to form roots.

Photo by Jerry Norbury, unedited, Flickr, copyright CC BY-ND 2.0 DEED
Steps To Propagate Juniper
Step 1 - Wait until late winter or early spring, when the plant is waking up from dormancy to take a cutting. Water the juniper shrub to ensure the plant is hydrated and healthy the day before removing a cutting.
Step 2 - Select a branch between 0.25 and 0.5 inches thick and trim a 4 to 6-inch long stem section.
Step 3 - Fill a pot with moist, and well-drained potting mix. Make sure the pot has drainage holes.
Step 4 - Remove lower needles or greenery from the cutting. Although not necessary, you can dip the cut end in rooting hormone.
Step 5 - Place the cut end at least two inches deep in the soil.
Step 6 - Water immediately and place the cuttings in bright, indirect sunlight and increased humidity.
Caring For Young Juniper Cutting
Juniper cuttings do well in a greenhouse where they can soak up increased humidity and warmth, but they can also root in a home or protected outdoor area. Give the cuttings bright, indirect sunlight and water when the top layer of the potting mix is dry. The soil should be moist but not saturated. Use a plastic bag to create a tent over the container to increase the humidity and prevent the cutting from drying out.
Roots will first emerge in 4 to 6 weeks, but it can take up to 6 months for the cutting to form a developed root system. Scale back on the water after the roots grow, and give the young plant a drink when the top couple of inches of soil are dry. Transplant the cutting outside in the spring after there is no longer a threat of frost.
 |
Author Alison Cotsonas - Published 12-22-2023 |


