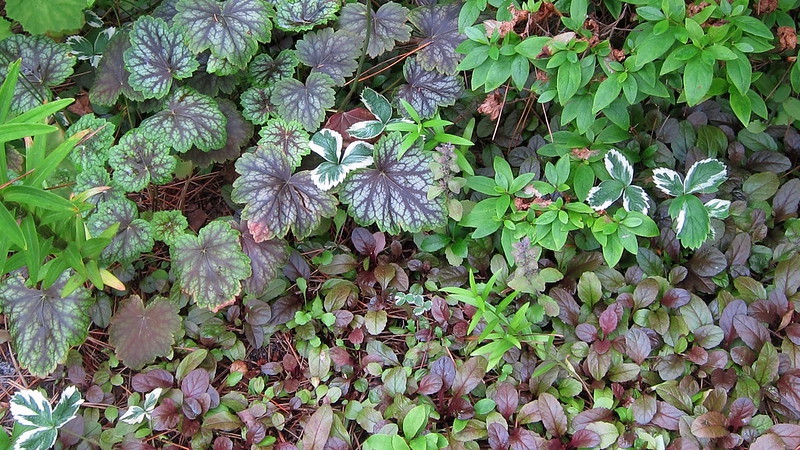
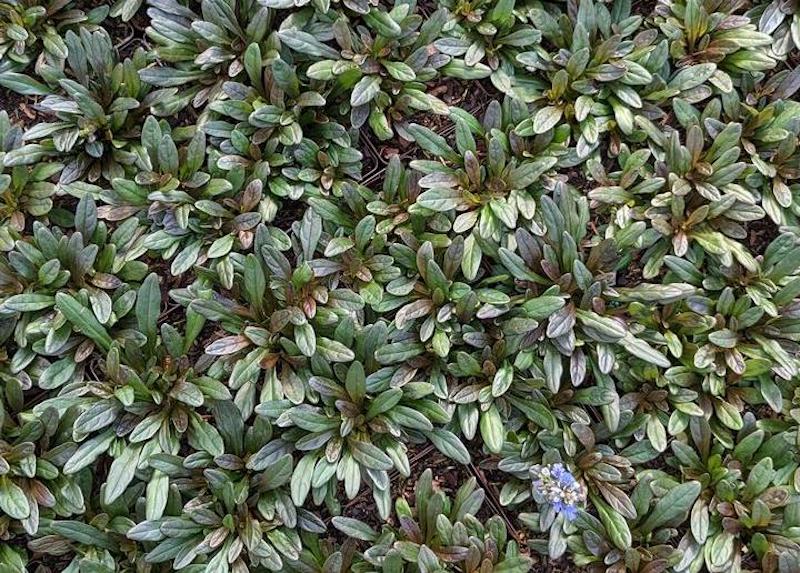
Ajuga, a member of the mint family, is a standard go-to for gardeners searching for perennials to fill in open spaces, soften harsh lines, and add color and texture to landscapes. The most commonly grown species Ajuga reptans grows quickly and can do all of these things. It has brilliant foliage in shades of purplish bronze to rust and showy blue-violet florets.

Photo by K M, unmodified, Flickr, copyright CC BY 2.0 DEED
Ajuga reptans, also known as bugleweed, carpet bugleweed, or carpet bugle, grows upright and spreads quickly. Reaching 6 to 9 inches high and 6 to 12 inches wide, this herbaceous perennial produces showy 2 to 4-inch leaves depending on its exposure to the sun. It is cold hardy and thrives in zones 3 to 8. Planting it correctly will set it up for success as a groundcover or edging plant.
What You Need To Plant Ajuga
- Shovel
- Compost or manure
- Garden spade
- Good location
- Water source
- Shredded mulch
Where To Plant Ajuga
Plant Ajuga in a location that gets partial shade to full sun. Exposure to 3-4 hours of sun will bring out the colors of Ajuga’s leaves, while exposure to harsh afternoon sun may cause Ajuga’s bright foliage to burn. The soil should be slightly acidic, moist, and well-draining. Since Ajuga is susceptible to fungal diseases such as crown rot and root rot, the soil should never be overly saturated or soggy. If the soil does not drain well, amend it with organic matter such as manure or compost. Finally, plant ajuga so that the crown remains above the surface of the soil and is adequately ventilated.
Ajuga Spacing
Bugleweed spreads quickly over the surface by runners. Space plants anywhere from 10 to 15 inches apart to create a dense groundcover. Since it spreads quickly, avoid planting Ajuga near delicate plants that could be smothered. Control its growth by planting Ajuga adjacent to hardscapes such as sidewalks.

Steps To Plant Ajuga
Step 1 - The best time to plant Ajuga is in spring after the last threat of frost has passed.
Step 2 - Dig a hole equal to the root ball’s height but twice as wide.
Step 3 - If needed, amend the soil with compost or manure.
Step 4 - Place Ajuga in the hole.
Step 5 - Hold the plant straight and steady with one hand while backfilling halfway.
Step 6 - Water soil thoroughly.
Step 7 - Backfill with the remainder of soil.
Step 8 - Water thoroughly.
Step 9 - To deter weed growth, apply a one-inch layer of shredded mulch around the plant.
When to Plant Ajuga
The best time to plant Ajuga is in early spring, from May to June, after the last threat of frost has passed. You can also plant and divide Ajuga during the autumn.
Transplanting Ajuga
Ajuga produces new plants by sending out runners, or stolons, along the soil’s surface, and new plants, or plantlets, grow along the nodes. After two or so years of growth, Ajuga may appear matted.You can divide the plants to improve Auga’s overall appearance and deter fungal diseases. Division will increase space between the plants and thus improve aeration.
To divide Ajuga, preferably during spring or autumn, dig up the mother plant and divide the clumps using your fingers or a sharp utensil such as a knife cleaned with alcohol. Then, separate the plantlets from the mother plant by cutting the stolon between the nodes. Next, plant the mother plant and its separated clones in their new spots.
If you want to propagate even more Ajuga plants, remove stolon segments containing nodes but no plantlets and plant the pieces in the soil. In time, new stems and foliage will emerge from the nodes.
 |
Author Suellen Barnes - Published 11-20-2023 |
