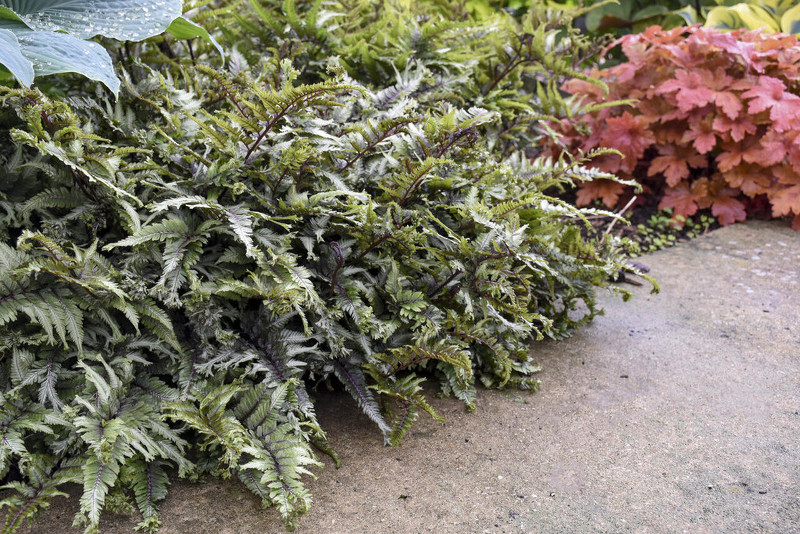
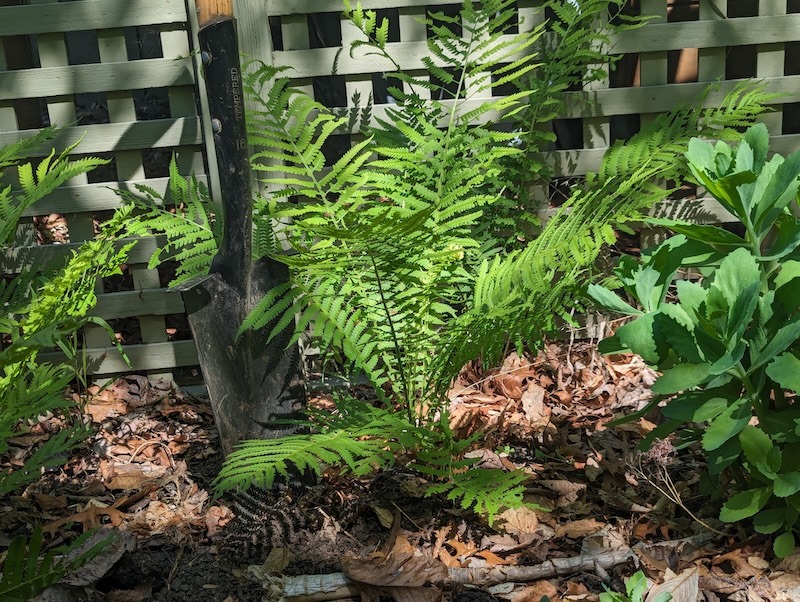
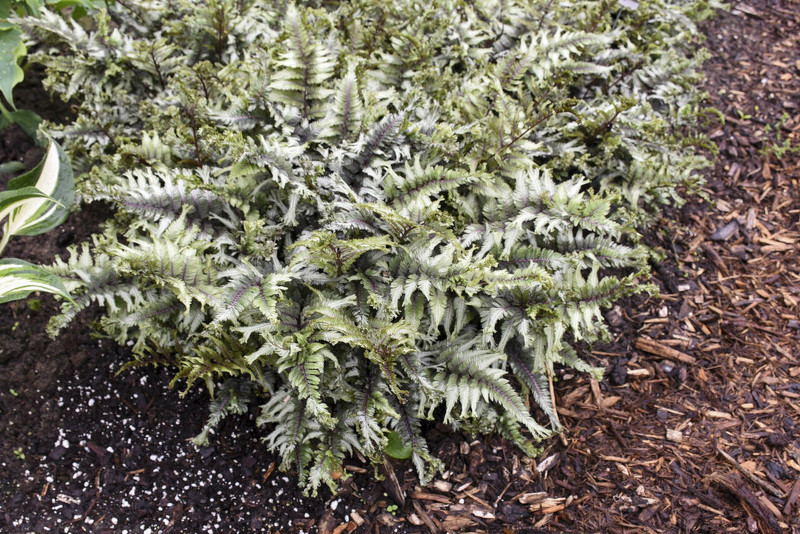
The Fern is one of the oldest classes of nonflowering types of plants on earth. This perennial plant is flowerless and seedless. A Fern is a vascular plant that reproduces through spores. There are over 10,500 identified species of ferns.

With so many species to choose from, there is a fern for every region of the United States. Ferns thrive in shady conditions and very moist soil rich with organic matter. This is the perfect plant for those hard to grow areas of your garden.
What You Need To Plant Ferns
- Clean shovel
- Compost
- Clean garden spade
- Clean shears (if dividing the plant)
- Source of water
- The perfect location
Popular and commonly chosen landscape Ferns prefer a partial to full shade location in the garden. A perfect spot is under a large tree where the fern can get dapple shade. Some varieties can handle a bit of direct sun, so be sure to check the label on the fern that you purchase. Popular species of fern thrive in soil that is moist and well-draining. A slightly acidic to neutral soil works the best.
Fern Spacing
With so many varieties to choose from, be sure to carefully read the label on the Fern that you select. Some ferns are mat-forming and will quickly spread as a groundcover, while others are self-contained and can be used as a specimen plant. Depending on the species, Ferns can range from 8 inches to 6 feet tall.

Smaller Ferns should be spaced 18-24 inches apart, while larger varieties should be planted no closer than 24 inches from other plants. Ferns are typically planted very shallowly, and can be a great choice staged near foundations and structures. Keep in mind that soil near buildings can dry out faster and Ferns prefer moist, well-drained soil.
Steps To Plant Ferns
Step 1- Choose a shady location.
Ferns thrive in a partial to full shade area.
Step 2- Choose an area where the soil is moist and well-drained.
Ferns naturally grow in humid forest-like climates.
Step 3- Prepare the soil for planting.
Mix organic compost into the soil.
Step 4- Dig the planting hole.
Dig a hole as deep as the root ball and two times as wide.
Step 5- Plant and fill the hole with soil.
Place the fern in the hole and fill with soil. Pat down to secure. Water well.
Step 6- Add Mulch.
Add a layer of mulch around the base to keep moisture in.

When to Plant Ferns
Ferns get off to the best start when planted in early spring after the threat of frost has passed. The soil is cool and moist at this time and the plants are most likely dormant. Ferns can also be planted during the summer time with few concerns. In mild climates where there is not a threat of frost, Ferns can be planted year around.
This shade loving plant is best planted during the cooler morning hours of that day or on a cloudy day. Planting during the hottest time of day can stress out the plant.
Transplanting Ferns
Thinking about transplanting your Fern? We recommend doing this in early spring while the plant is still dormant and you see new growth just appearing. Typically, gardeners will know it is time to divide the plant when the Fern fronds (leaves of the fern) begin to get smaller and the center of the plant appears bare.
Begin by preparing the soil in the new planting area. You may want to mix in some organic matter to help with drainage. Dig a hole as deep as the hole the plant was previously removed from. Dig up the entire clump of the Fern and carefully remove the soil from the roots.
Using a disinfected knife or shovel, split the plant into 2 halves or into 4 quarters. Place the division into the new hole, with the root ball the same depth as it previously was. Fill in the hole with soil and pat down gently. Water well after replanting.
Follow the same procedure above if you are dividing a Fern and repotting it. Use new potting soil and move the division to a new container. If you are not dividing the Fern, but just repotting, select a container that is 1-2 inches bigger than the previous one.
 |
Author Chris Link - Published 11-17-2021 |
