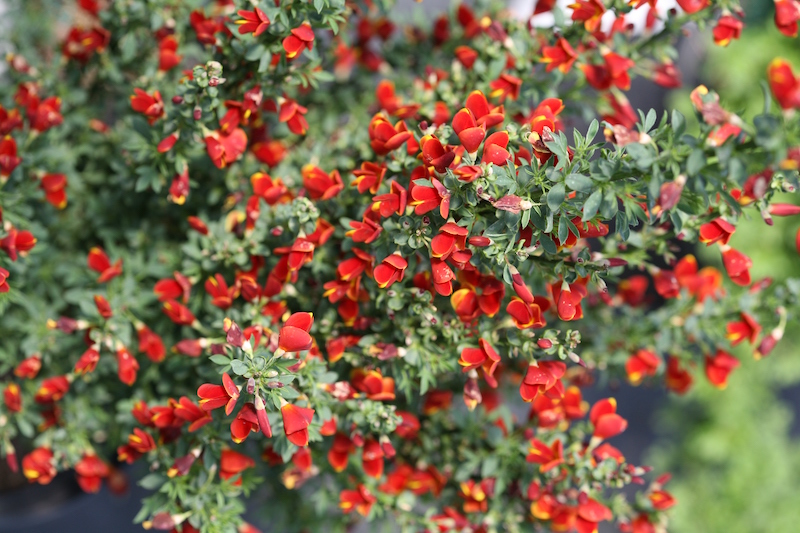
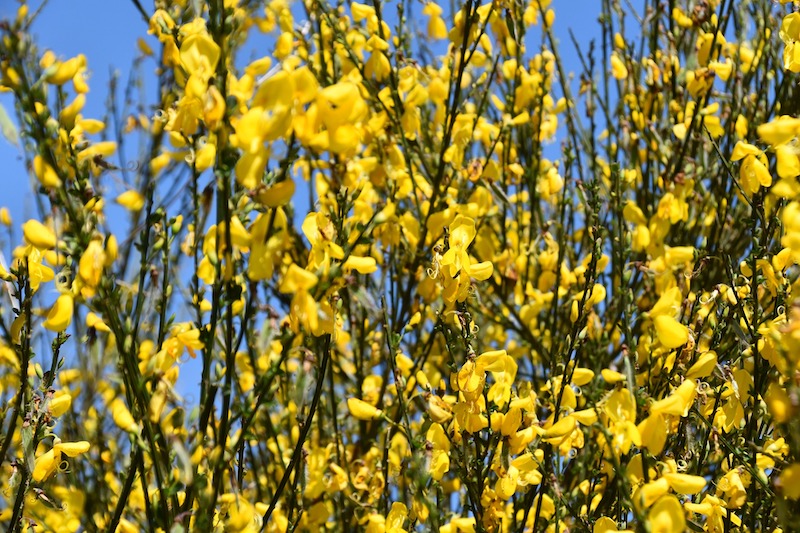
Scotch Broom, Cytisus scoparius, is a flowering deciduous shrub native to North Africa and parts of Europe. Known for its striking profusion of brightly colored flowers and tough woody stems, the flowers are pea-like and are borne in clusters along the slender branches. In addition to Scotch Broom being fragrant and colorful, it's valued for its deer resistance, drought tolerance, and adaptability. This hardy, low-maintenance shrub is a must-have for sunny dry spots in your water-wise landscape and coastal areas.

What You Need To Plant Scotch Broom
- Shovel
- Sand to amend the soil if clay
- Garden spade
- Sunny location
- Water source
Where to Plant Scotch Broom
Scotch Broom thrives when it is located in a sunny spot, with well-draining, slightly acidic soil, between pH 6.0-6.5. It's good practice to become familiar with your soil texture and pH level. You can get a basic soil testing kit online or from your local garden center. Avoid planting it in any area that is prone to standing water as this condition can cause root rot. If you notice your soil is clay or drains poorly, amend it with sand or fine gravel to create faster-draining soil.
Scotch Broom Spacing
Allow plenty of space for Scotch Broom to reach its mature width and height when planting. Some varieties grow over 4 feet wide. It's important to give it enough space for all its branches to receive plenty of sunlight for flowering and developing a well-balanced shape. We recommend allowing at least 3-4 feet of space between plants and other structures. Scotch Broom can be pruned when it's young to maintain a certain width and height that is easily manageable.

Steps To Plant Scotch Broom
Dig a hole that is twice as wide as the root mass of the plant. Loosen the existing soil with a spade. If the soil contains clay, amend it with sand or fine gravel; Scotch Broom must have fast-draining soils. Remove the plant from the container and gently loosen the roots to encourage them to spread out. Place the Scotch Broom into the hole and backfill with the native soil. Tamp the soil down gently to remove any air pockets. Water the plant well after the initial planting, making sure the roots receive a deep soak.
Step 1 - Select a sunny location
Step 2 - Dig the hole
Step 3 - Amend the soil by adding sand or small gravel to improve drainage
Step 4 - Gently loosen roots
Step 5 - Position the root ball evenly at the bottom of the hole
Step 6 - Fill in the hole with soil
Step 7 - Tamp down the soil to remove any air pockets
Step 8 - Water the root zone thoroughly
When to Plant Scotch Broom
Plant Scotch Broom preferably in spring, after all danger of frost is gone and the soil is workable. You can plant Scotch Broom anytime during the season, but use extra caution during the heat of the summer, which can be stressful for a new plant. Plant in the morning or later in the evening to avoid direct harsh sunlight on the plant, which can cause undue stress. Ideally, plant on an overcast day in mild temperatures. If you have to plant in direct sunlight on a hot summer day, give Scotch Broom extra deep watering the day it's planted and for the next few days to get it acclimated.
Transplanting Scotch Broom
You can easily propagate Scotch Broom plants by taking semi-flexible cuttings from the mature plant; however, once Scotch Broom becomes mature, it's difficult to split the woody base. Seeds are plentiful from the fall pods of this plant; they naturally split and eject hundreds of seeds several feet in every direction.
Scotch Broom does not prefer to be transplanted, but if you need to relocate it, fall is the best time to do it, so it has plenty of time in winter and spring to recover. If branches are damaged during transplanting, prune them back to the base of the plant and discard them.
 |
Author Chris Link - Published 01-26-2023 |
