Propagation is a great way to increase the size of your houseplant collection while also learning about plants. Anthurium plants can be propagated in several different ways that are approachable for beginners and experienced gardeners alike. You only need a few supplies, a mother plant, and some time to create a new plant. From start to finish, you can grow a fully rooted Anthurium in just under two months!

Methods To Propagate Anthurium
The methods that work best to propagate Anthurium include stem cuttings, division, and seed growing. The most approachable method for a beginner is likely stem cutting. To be successful, you must first begin with a healthy plant free of pests or disease. Using clean clippers or shears, clip off a strong leaf that has at least one visible node. Remove the leaves from the bottom two thirds of the stem and submerge the end in water. The roots will grow out of the submerged nodes. You can also plant the cutting directly into soil. Rooting into soil can take a little more time, but the roots will be stronger.
Best Rooting Media To Propagate Anthurium
The best rooting media for Anthurium cuttings are water and soil. Water is a great rooting medium because it is low maintenance and allows you to see the roots begin to grow. This medium is easy to maintain and great for beginners. Soil is another great rooting medium because the rooted cutting will have an easier time transitioning to its permanent home. You can use a good quality potting mix that has a high amount of aeration with the addition of perlite, vermiculite, coconut coir, or sphagnum moss. Pre-made seed starting mixes or a Lightweight Expanded Clay Aggregate (LECA) are great choices because they are designed for rooting cuttings or seeds.

Steps To Propagate Anthurium
Step 1 - Choose a healthy Anthurium plant and identify a stem with a few healthy leaves
Step 2 - Cut off a section about 6 - 10” long with clean pruning shears or scissors
Step 3 - Remove the leaves from the bottom two thirds of the stem
Step 4 - Choose your rooting media (water, soil, perlite, moss, or LECA)
Step 5 - Apply rooting hormone, or Auxin, to nodes or add to propagation water (optional)
Step 6 - Keep propagation soil moist by misting or change propagation water when cloudy
Step 6 - Allow your cutting to photosynthesize and grow by placing cuttings in a bright location with indirect light.
Step 7 - Allow 4 to 6 weeks for roots to develop, and transplant rooted cutting into soil
Caring For Anthurium Cuttings
Anthurium cuttings do not require a great deal of care but it is important to regularly monitor the cutting. Place your cutting in a location with bright, indirect light and avoid direct light exposure. If your Anthurium cutting is in a container of water, keep an eye on the water and replace it when overly cloudy. Do not let any foliage touch the water and potentially rot. If your cutting is in soil, keep the soil lightly moist while the cutting begins to root and establish itself. Do not let the soil dry out completely or become soggy. Check on your cutting daily, especially for the first two weeks to make sure it is happy and healthy and pushing out new growth.
Transplanting Anthurium Cuttings
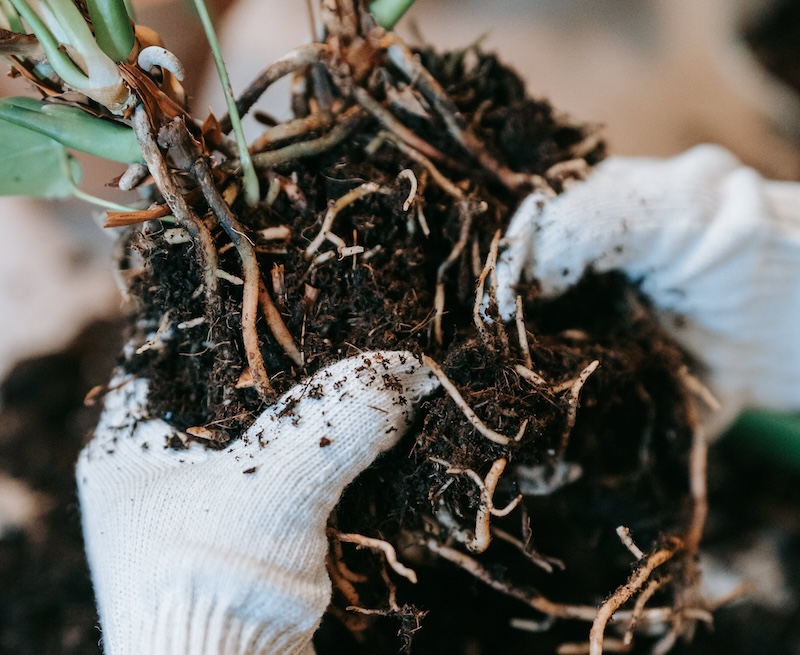
While you are regularly checking the conditions of your Anthurium cutting, you will slowly begin to see roots develop. It is important to allow the cutting to develop a robust set of roots that will support a strong and healthy new plant. Once the roots have several branches and have grown to at least 2-3 inches in length, your cutting will be ready to transplant.

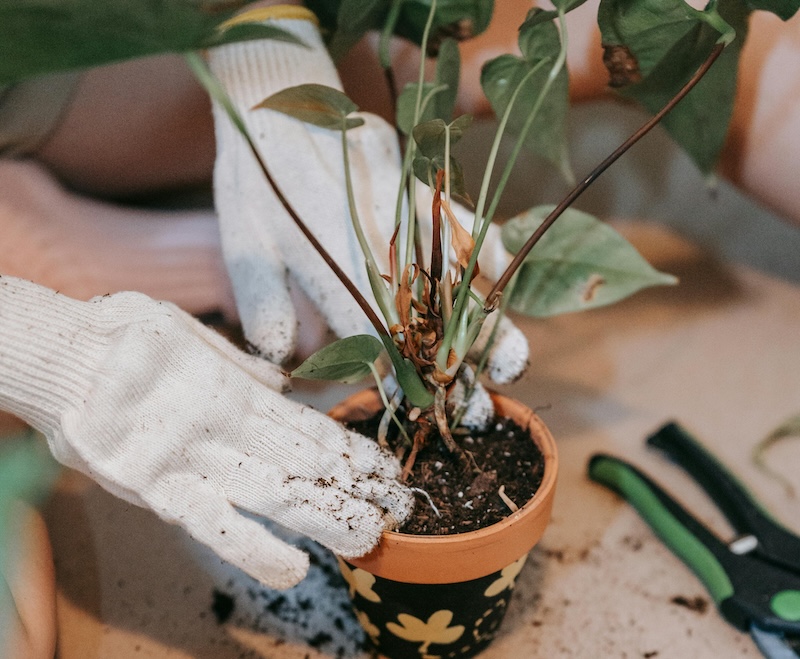
To transplant your rooted cutting, select a container that has drainage holes and is not too large. Fill the bottom of the container with good quality potting soil, place the plant in the soil, and then fill the rest of the container with soil while you lightly press down the soil. Water the soil thoroughly and keep the soil lightly moist while the cutting establishes itself. Place the container in a warm and humid location with bright indirect light. You now have a new Anthurium plant to enjoy!
 |
Author Katie Endicott - Published 11-28-2023 |
