Author Maureen Farmer
Autumn is a great time for planting or moving existing shrubs in your garden. The roots will have time to grow into their new home before the ground freezes. Azaleas can also be planted in the spring but will have to be watered more frequently as the temperature rises.
Azaleas need four to six hours of filtered sunlight for optimum blooms. A location that receives morning sun and afternoon shade is also appropriate. Protection from strong winds will help to prevent the flower buds and leaves from drying out. Space plants 2 to 6 feet apart, depending on their estimated size at maturity.
Steps to Planting Azaleas
-
Remove the sod or any other existing plant material.
-
Remove the azalea from its container or inspect the roots of a bare root plant to determine the size of the root ball. Do not pull the plant by its stem to remove it from the container. Cup the stem with your hand, turn the container upside down and tap on the bottom of the plant didn’t slide free when inverted.
-
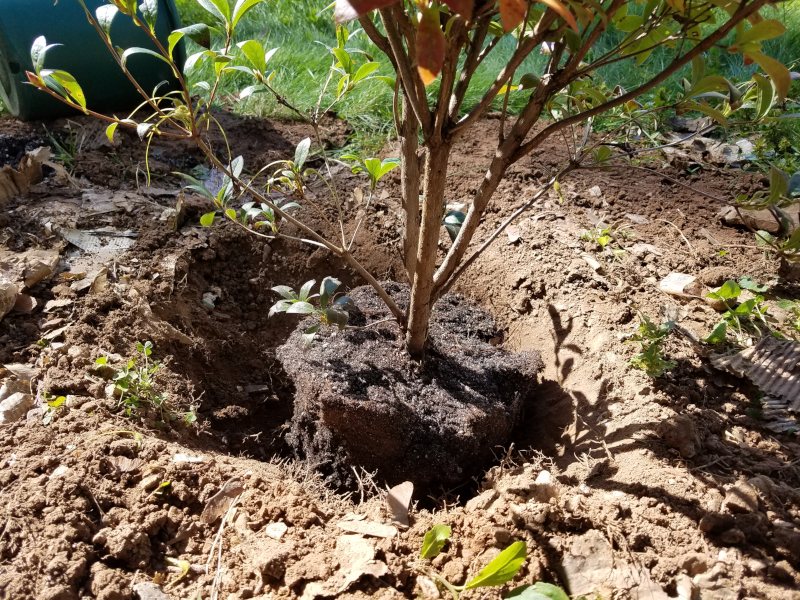
Dig a hole twice as wide as the root ball and as deep as the plant was growing in its container. Azaleas are shallow-rooted plants and most of their horizontal roots are formed in the top foot of the root ball.
-
Add some compost into the hole and mix it into the exposed soil.
-
Mix some compost into the soil you will be using as backfill. Don’t add fertilizer at the time of planting, especially one high in nitrogen. High nitrogen fertilizers promote top growth instead of root growth. Wait until the second year to fertilize if necessary. Too much fertilizer will burn the plants.
-
Loosen the root ball of your azalea plant. The roots may be growing in a circle around the edge of the container.
-
Set the azalea into the hole making sure the top of the root ball is even or slightly above the soil line.

-
Back away and view the azalea from as many directions as possible. Make sure the most attractive side of the plant is facing outward.
-
Refill the hole halfway and water to eliminate any air pockets in the soil.
-
After the water drains, continue filling the hole and water again.
-
Add mulch for moisture retention and weed control. Make sure the mulch is a few inches away from the plant stem.

-
Water every few days without rain to prevent the root ball from drying out the first week or two after transplanting. Continue to water weekly during dry periods for the first season until your azalea has become fully established.
Transplanting Azaleas
It is best to transplant azaleas and rhododendrons in the fall, once the temperatures cool off below 80 degrees on average temperatures. This allows the roots the best chance to get acclimated in the new location. You may also transplant in spring before summer temperatures get too high. In either scenario, be sure the plant receives plenty of moisture to help the roots grow in the new location. We also recommend transplanting early in the day or late in the day, for the same reasons. The cooler the temperatures, the less shock on the plant.
Dig a hole 1 to 2 feet wide around the base of the plant. Dig as deep as the roots are growing, typically about 2 feet deep. Try and get as much of the root ball as possible. Once you have the plant out of the ground, use the same steps as above to plant the azalea in the new location. We recommend having the hole dug out in the new location ahead of time, so the roots of the plant aren't exposed for too long of a period. Water thoroughly the next several weeks to help the roots get acclimated.
