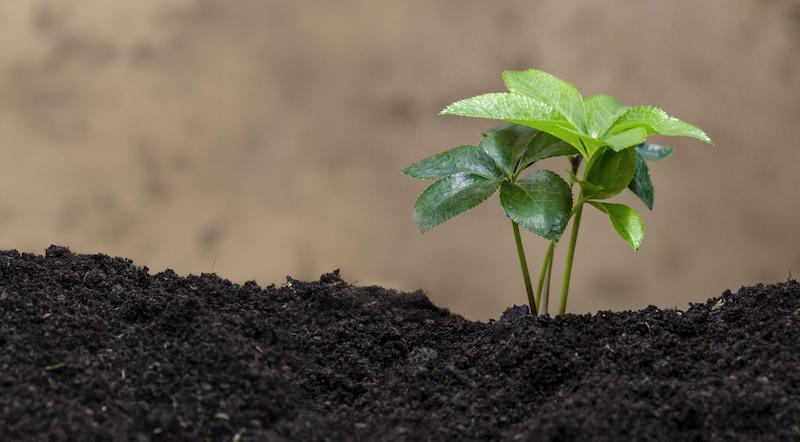
Hellebores are the stars of the late winter and early spring garden. Their sturdy, evergreen leaves and stems add structure to perennial plantings during the summer, and burst into color during the bleakest months. Propagation of these winter favorites is easy to do and does not involve any specialized gardening tools. Regularly dividing Hellebores ensures a continuous supply of new plants while also helping the parent plants remain vigorous and healthy. Growing Hellebores from seed is a fun way to create plants with new traits.

Methods To Propagate Hellebores
The easiest method for propagating Hellebores is t.o divide up clumps into smaller sections. This method guarantees that the new plants will have the same traits as the parent plant. Division of most perennials also helps to reinvigorate plants that have slowed growth.
The second method of propagation is by seed. Most varieties of Hellebore readily set seed and self-sow late in the summer. Keep in mind that the seedlings may look different from the parents. Many commercially available Hellebores are hybrids produced by crossing two different strains. Seed collected from hybrids may result in various mixes of the genes from the crossed plants.
What You Need To Propagate Hellebores
Dividing Hellebore plants only requires a small-headed transplanting spade, a pair of garden forks, or a foldable garden saw. Prepare the new planting sites so that the divisions can be transplanted as soon as possible without the roots drying out. Supplemental watering is important to help the new plants establish strong root systems.
Growing Hellebores from seed can be as easy as letting the plants self-seed. The seedlings can then be transplanted when they are large enough to handle. If you prefer to collect the seeds and grow them systematically, you will need the following supplies: breathable envelopes or small paper bags to store the ripened seed, seed-starting flats or 2-3 inch pots, sterile seed-starting mix, and perlite or vermiculite to cover the potting mix. Special heat mats or grow lights are not necessary when propagating Hellebores within their growing range, zones of 4-9. The seeds require a period of cold stratification to spur germination so they must be grown in an unheated greenhouse or cold frame over the winter.
Best Time To Propagate Hellebores
Collect seeds from Hellebore as soon as they have dried on the plant. Typically this is in early or mid-summer. Once the individual flowers are pollinated in the spring, keep an eye on the developing seed pods in the middle of the sepals. Once they turn brown and the seed begins to rattle inside, you can collect the seed and place it in a paper bag to further dry until you are ready to plant it. The seed only stays viable for a short time and is best planted the same year it is collected.

Division is best done in late winter or late summer when the plants are done blooming and setting seed. In the late winter, look for new shoots to indicate when to dig up the clump. In late summer, divide plants once the seeds have dropped and the weather is cool. Water the divisions regularly so that the plants do not dry out before producing new roots.
Steps To Propagate Hellebores
The easiest way to propagate hellebores is to divide existing plants. The new plants will be genetic clones of the parent plant. Growing Hellebores from seed is a bit of a gamble because the flowers of the progeny are often less attractive than those of the parent. The following steps will ensure the successful propagation of Hellebores by division.
Step 1 - Dig up a healthy, mature plant, keeping as much of the root system intact as possible. Each division requires a healthy root system to regrow and will not sprout roots from stems with no root nodes.
Step 2 - Using two garden forks or a garden saw, divide up the root ball into 2 or more clumps. Look for natural separations of the crown with at least one or two plant nodes to generate new top growth.
Step 3 - Cut away any damaged foliage or spent flowers from each of the new plants.
Step 4 - Replant the new sections of Hellebore into prepared holes that are the same depth as the original plant. Backfill with soil and gently firm it down around the plant to get rid of any air pockets near the roots.
Step 5 - Water the plant until water puddles. Allow all of the water to soak into the soil before mulching.
Step 6 - Add a 2-3 inch layer of organic mulch to suppress weeds and to aid in moisture retention in the soil.
Caring For Young Hellebores
Hellebore divisions will grow in a container if you do not have a spot ready for replanting. Use a pot that will comfortably house the whole root ball, and make sure it has drainage. Pot the divisions using an all-purpose potting mix intended for outdoor plants. Place the plants in a sheltered location that receives natural rainfall but is shaded from hot sun and protected from harsh winds. Water as needed until you are ready to plant out in the garden. A light feeding with either fish emulsion or liquid seaweed may be needed if the plants grow in containers over more than one season.
 |
Author Robbin Small - Published 12-14-2023 |


