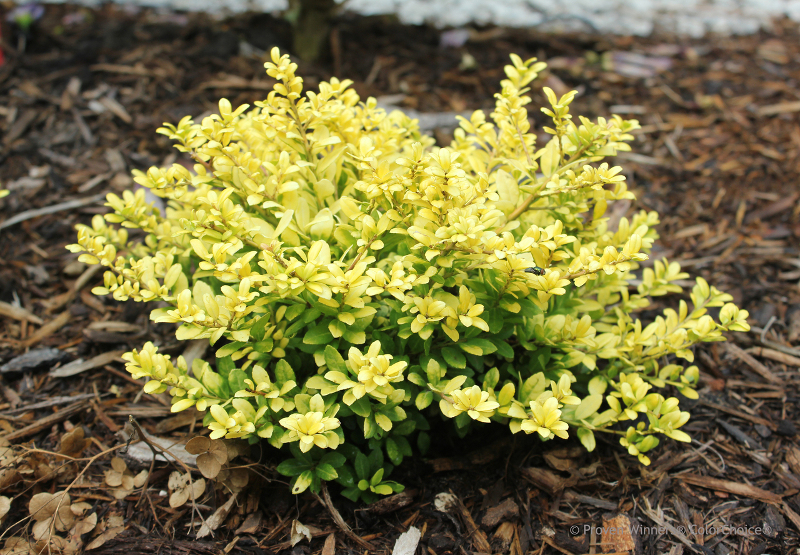
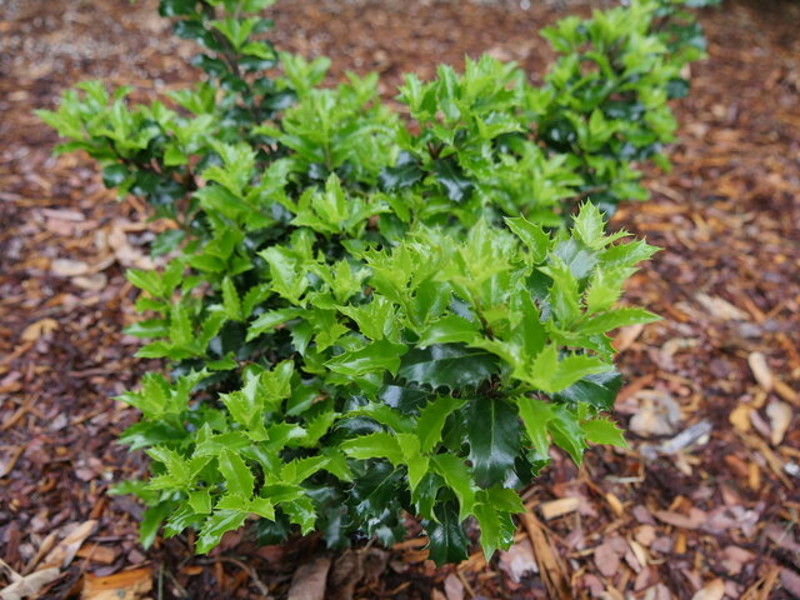
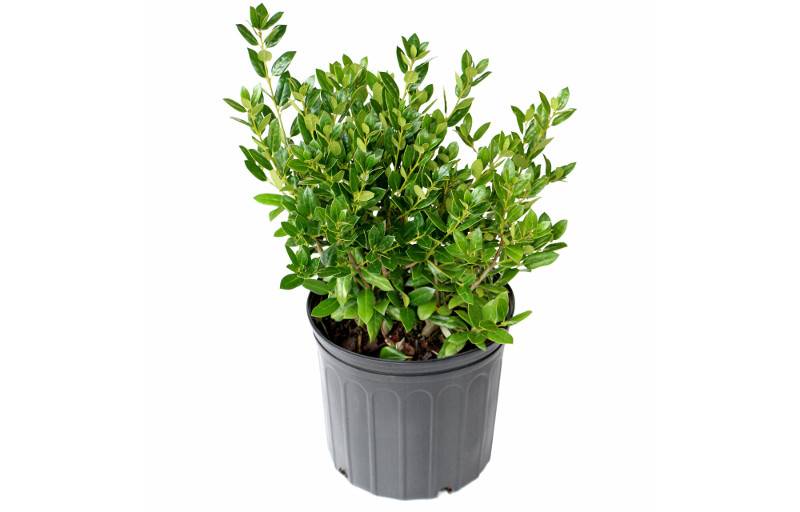
One of the most beautiful shrubs that you can plant in your landscape is a holly shrub (Ilex spp). Most hollies have thick, glossy leaves and give your plantings a mature look. Others have softer leaves and lose their leaves in the fall after a frost.
There are many types of hollies, so we recommend that you do a little research before buying one. Some hollies are tall, others are short; some hollies are evergreen while others are deciduous. Most hollies are dioecious, meaning male and female flowers are on separate plants, and both are required for the female plant to produce berries. Whether you are planting a male or female plant, follow our planting guide below for best results.

What You Need To Plant Hollies
When you are about to plant your holly, get your tools ready to put it in the ground. Those tools include a sharp shovel, mulch, scissors for cutting twine if it is balled and burlap, utility knife for cutting any girdling roots and a watering can filled with water. A pair of gardening gloves is always helpful too for you.
Where to Plant Hollies
So where do you want to plant your holly? Hollies thrive in full sun (6-8 hours daily) but will tolerate part sun (4-6-hours daily). Caveat: if you are planting Winterberry hollies, they should be planted in full sun otherwise their fall color is more of a hot pink rather than red. All hollies require a moist but well-drained, acidic, loamy soil. If you live west of the Mississippi, you should have your soil tested since the soil tends to be more alkaline and potentially unsuitable for a holly.
Plants should never be planted any deeper than the height of the root ball. Choose your spot carefully because hollies are not fond of being moved. Before planting, thoroughly water your holly 24 hours prior to make sure it is well hydrated and will tolerate being transplanted easily.

You should decide why you are planting a holly: is it for privacy, a focal point, or a border between outdoor spaces? If you are planting a holly for privacy, consider how tall the plant needs to be. A deciduous holly such as Berry Heavy® Winterberry Holly or Berry Heavy® Gold Winterberry will give you privacy during the spring, summer, and early fall before dropping its leaves. Be sure to plant Mr. Poppins, a male pollinator, for lots of berries.
For a hedge or to define a space, a compact Japanese holly is ideal, such as Soft Touch Compact Holly. Space each shrub close enough that neighboring branches will touch at maturity. The compact Japanese hollies tolerate pruning into formal shapes or can be left to develop a looser, natural form.
Holly Spacing
When planting more than one holly, calculate how many plants you will need for your design, along with the optimum spacing. If you are planting a hedge of Castle Wall® Blue Holly or Castle Spire® Blue Holly, plan on placing them approximately 4 feet apart for best growth and air circulation.
Avoid planting shrubs too close to a building, and allow a clearance of at least 2-3 feet from a building. Plants under an overhang will struggle to receive sufficient water and sunlight, and hollies prefer full sunlight. Also, consider the height of the shrub at maturity. You don’t want an 8 foot holly obscuring your picture window.
Steps To Plant Hollies
Step 1 - When purchasing your holly bush, check for roots coming out of the container or burlap, which can indicate that the shrub is root-bound and has been in the pot too long.
Step 2 - Dig a hole as deep as the height of the rootball. Loosen the sides of the hole to encourage the roots to grow outward. Tease apart the roots with your fingers to loosen them and to prevent any circling of the roots, which is detrimental to the plant.
Step 3 - Gently place the holly in the hole and backfill with the extracted soil, minus any rocks. Lightly tamp the soil with your hands or a shovel to remove any large air pockets in the hole. Avoid standing on the planting site, which can compact the soil and prevent root growth.
Step 4 - Lightly mulch the root zone with 2 inches of mulch, pulling any material from the trunk of the plant.
Step 5 - Water the planting site thoroughly to saturate the root zone. Continue to water the planting at least once a week until the holly is well established.

When to Plant Hollies
The ideal time to plant hollies is in the spring or fall when the weather is cooler. You can plant at other times of the year if necessary, but you will have to pay extra attention to watering after planting. You can also use an anti-transpirant such as Wilt-Pruf to reduce the loss of moisture from the leaves. Follow the directions on the container for proper use.
Transplanting Hollies
To transplant a holly, prepare the new hole just as you prepared the original hole. Thoroughly water the area prior to transplanting. Choose a cloudy and cool day to move the holly. Hollies don't like to be disturbed, but sometimes it can’t be helped. It isn’t possible to divide hollies like suckering shrubs since they have only a main trunk.
 |
Author Denise Schreiber - Published 9-28-2021 |
