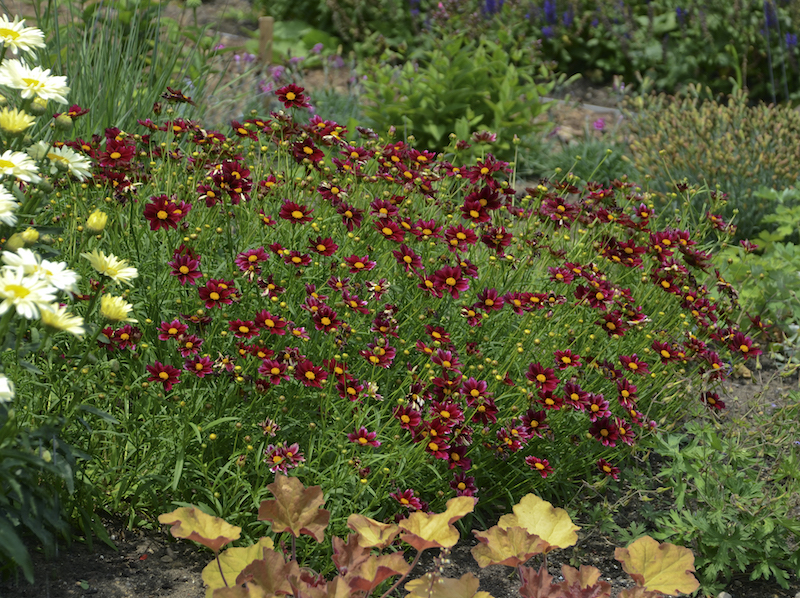
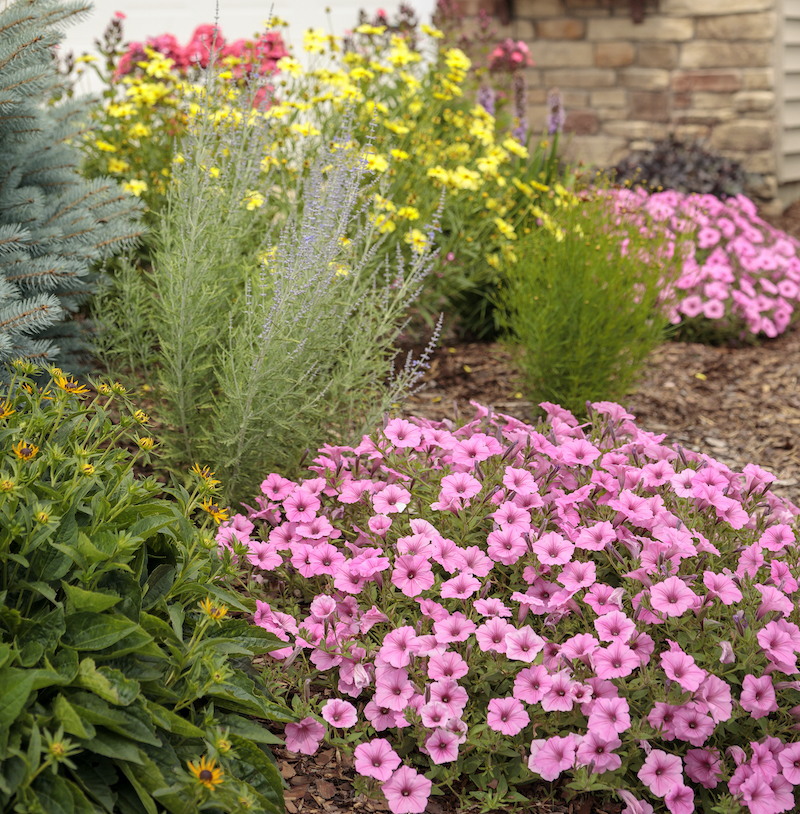
Tickseed, or as it is known by its scientific name, coreopsis, includes over 100 species and numerous hybrids, some of which are perennials and others are annual plants. Because of the diverse range of species, these plants may grow lovely flowers that are yellow, orange, rose, lavender, white, or multi-color. They are native to North America and are highly popular with critters, as birds love their seeds and butterflies enjoy feeding on their nectar.
These low-maintenance plants are fairly simple to grow. By providing the proper care, these plants will thrive and provide a beautiful display of blooms. The following sections contain all the information you need to help your tickseeds thrive.

What You Need To Plant Tickseed
- Shovel
- Compost or manure
- Garden spade
- Good location
- Water source
- Mulch
Where to Plant Tickseed
These plants grow best in USDA hardiness zones that range between 4 and 10. They also need at least 6 to 8 hours of direct sun per day. So, choose a planting location with ample sunshine. Tickseeds require well-drained soil, ideally with a pH between 5.5 and 6.5 (neutral to acidic). Before planting, remove any weeds, and then plant your tickseed no more than 1 to 2 inches deep into the ground. Make sure the soil is moist while planting.

Tickseed Spacing
You should leave approximately 15 to 20 inches of space between each plant to allow sufficient growing room and avoid overcrowding. At full maturity, you can expect your plants to reach a spread of about 1 to 2 feet.

Steps To Plant Tickseed
Before planting, make sure you have selected a spot that will give your tickseed the sun exposure it needs. Next, prepare the area by removing weeds. You should dig a hole that is approximately the same depth as your plant’s root ball but slightly wider. Plant it so that the top of your tickseed’s root ball meets the level of the soil.
Water it generously once you’re finished planting and aim to keep the soil continuously moist over the next few weeks. You can help keep the soil moist by applying a 3-inch layer of mulch around your plant, but don’t allow it to touch the stems.
Step 1 - Choose a location in which your plant is fully exposed to the sun
Step 2 - Get rid of weeds in the surrounding area
Step 3 - Dig a hole that is the same depth as the root ball, but make it a bit wider
Step 4 - Water it thoroughly
Step 5 - Use mulch to keep the soil moist
When to Plant Tickseed
The best time of year to plant your tickseed is after the last frost of spring or early fall at the latest. We do not recommend planting during the colder months of the year since tickseeds thrive in warmer climates.
If you do, however, decide to plant during the cold winter months, apply a thick (3-4 inches) layer of mulch to help insulate your plant’s roots.
Transplanting Tickseed
If you notice overcrowding, divide your tickseed into several clumps in the spring. You should begin the process by gently loosening the soil in your newly selected location, preferably to the depth of 1 foot. Make sure you have well-draining soil that isn’t too wet as it can cause your tickseed’s roots to rot. Next, dig around the parent tickseed using your shovel and carefully release it from the ground by lifting it under the root ball. You can split up large clumps into smaller pieces.
In your new location, dig a hole that is the same depth as your plant’s root ball, but this time, make the width twice as wide. The very top of the root ball should be slightly higher than ground level. After planting, fill the hole with soil and press it into the ground carefully. Lastly, water the soil to help it settle.
 |
Author Chris Link - Published 07-26-2022 |
