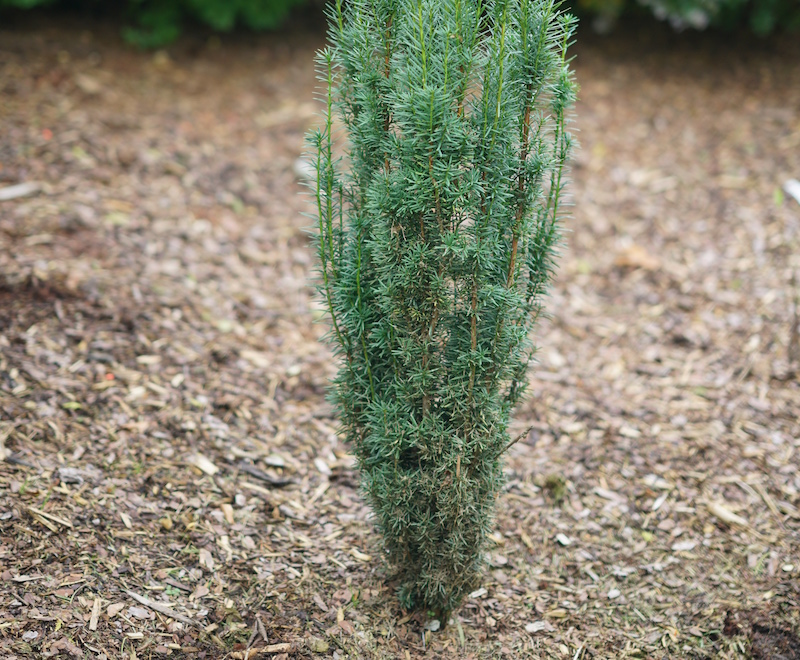
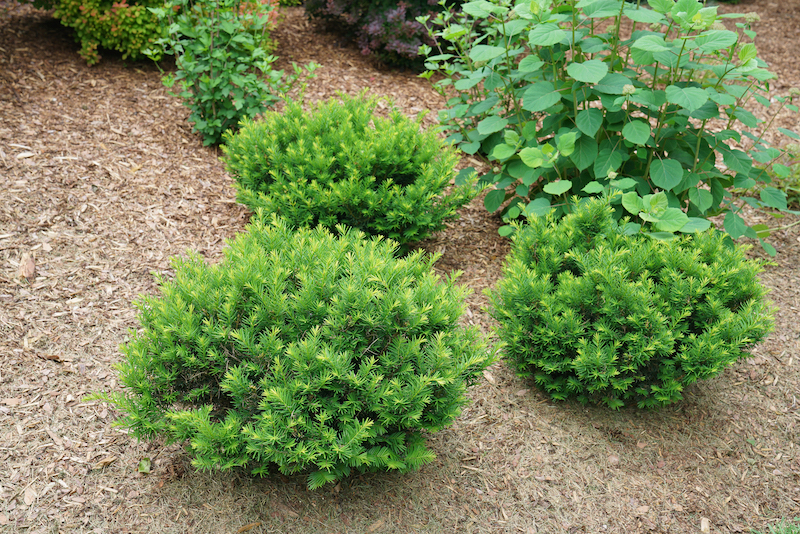
Yews, a variety of species within the genus Taxus, are prized for their easy-to-grow nature, ability to thrive in varied sunlight intensities, and evergreen foliage that livens up dreary winter landscapes. These shrubs or small trees are tough and usable in several different landscape niches. Proper site selection, good preparation, and correct planting technique will help to ensure a yew thrives in the landscape.

What You Need To Plant Yew
- Shovel
- Well-rotted compost or manure
- Garden spade
- Good location
- Water source
- Mulch
- Sharp, clean hand pruners
Where to Plant Yew
Good site selection and preparation are key to encouraging yew establishment and growth. Yews can handle full sunlight, part shade, and even full shade. Windy sites pose a challenge to yews. If they are exposed to strong winter winds like those coming from the north, branch tips can turn brown and die back. It is possible to grow yews with this type of exposure, but they will typically need additional protection measures each winter. Yews need good soil drainage. Avoid low spots, areas near downspouts, and heavy clay soils unless they can be thoroughly amended.

Yew Spacing
The best spacing for yew planting will depend on the cultivar and intended use for the yew. To create a dense hedge or foundation planting, space multiple plants the minimum spread recommended for the cultivar. Determine the maximum mature width for a cultivar to gauge how much room to give a yew if you want to utilize it as a specimen plant or leave it ample room next to a structure. For example, the cultivar ‘Everlow’ is well suited for low hedges, with a mature height of 2 feet and a spread of 3 to 4 feet. So, to keep it as a hedge, plant multiples 3 feet apart.
Steps To Plant Yew
Step 1 - Select the appropriate site for the yew. Choose a spot with good drainage and, ideally, some protection from harsh winds.
Step 2 - Dig a hole at least twice the width of the yew’s root mass and as deep as the root mass. In heavy clay soils, dig a hole 3 times wider than the root mass and jab into the sides of the planting hole with a shovel to break up the smooth surface. Set the soil removed from the hole aside for reuse.
Step 3 - Remove the yew from the container by cupping the soil surface with one hand and turning the plant upside down. If the yew is resistant, massage the outside of the container to loosen the roots and then try to tip it out again. Avoid yanking the yew out of the container by its stem.
Step 4 - Position the yew in the planting hole. It should be approximately centered in the hole. The top of the yew root mass should be even or slightly above the surrounding soil. Planting a yew too deeply in the soil will leave it vulnerable to root issues like rot.
Step 5 - Blend soil removed from the planting hole with equal parts well-rotted compost or manure or a similar soil amendment.
Step 6 - Fill in the planting hole around the root mass with the blended soil. Gently pack it in with your hand as you go. Do not pack it in too tightly.
Step 7 - Water the soil in by turning a hose on to a trickle and moving it to various spots over the root mass and planting hole for a few minutes in each spot. Add more soil as needed to account for any soil that settles.
Step 8 - Apply a 2 to 3-inch layer of mulch over the root mass and planting hole. Leave a space around the plant so mulch does not touch the stem.
Step 9 - Inspect the yew thoroughly; cut off any damaged branches back to a bud.
When to Plant Yew
The best time of year to plant yews is in early spring soon after the soil has thawed enough to dig. Springtime means cooler air temperatures and, often, ample rain. Second to early spring, early fall is typically the next best time of year to plant yews and other evergreens. The goal here is to get the yew in the ground about 8 weeks before the soil starts to freeze. It is possible to successfully plant yews late spring and, when absolutely necessary, in summer. During these times in particular, regular watering to ensure even soil moisture will be necessary to minimize shock.
The needles of yews are not as susceptible to drying out as the leaves on deciduous plants, but timing planting for early morning or evening, especially in warm or windy weather, will help to minimize heat stress and shock. A layer of organic mulch over the root zone will minimize water loss and frost heaving for yews that are planted outside of the ideal planting window or in fall.
Transplanting Yew
Yews have fairly compact roots, so they are good candidates for transplanting. The best timing for transplanting mirrors the timing for initial planting, with early spring as the best time and early fall in second place. Use a sharp spade to cleanly sever the roots and create as large a root ball as is possible to handle. Before or after transplant, prune the yew to make it easier to handle and to balance the root loss the yew is experiencing as a result of transplant. Because of the single-stemmed, woody nature of yew stems, dividing is not recommended. It is possible to multiply plants by rooting cuttings of softwood taken late in the growing season.
 |
Author Angela Ryczkowski - Published 4-09-2023 |
